- التسوق ، اصبح سهلا.
- /
- احصل على التطبيق!
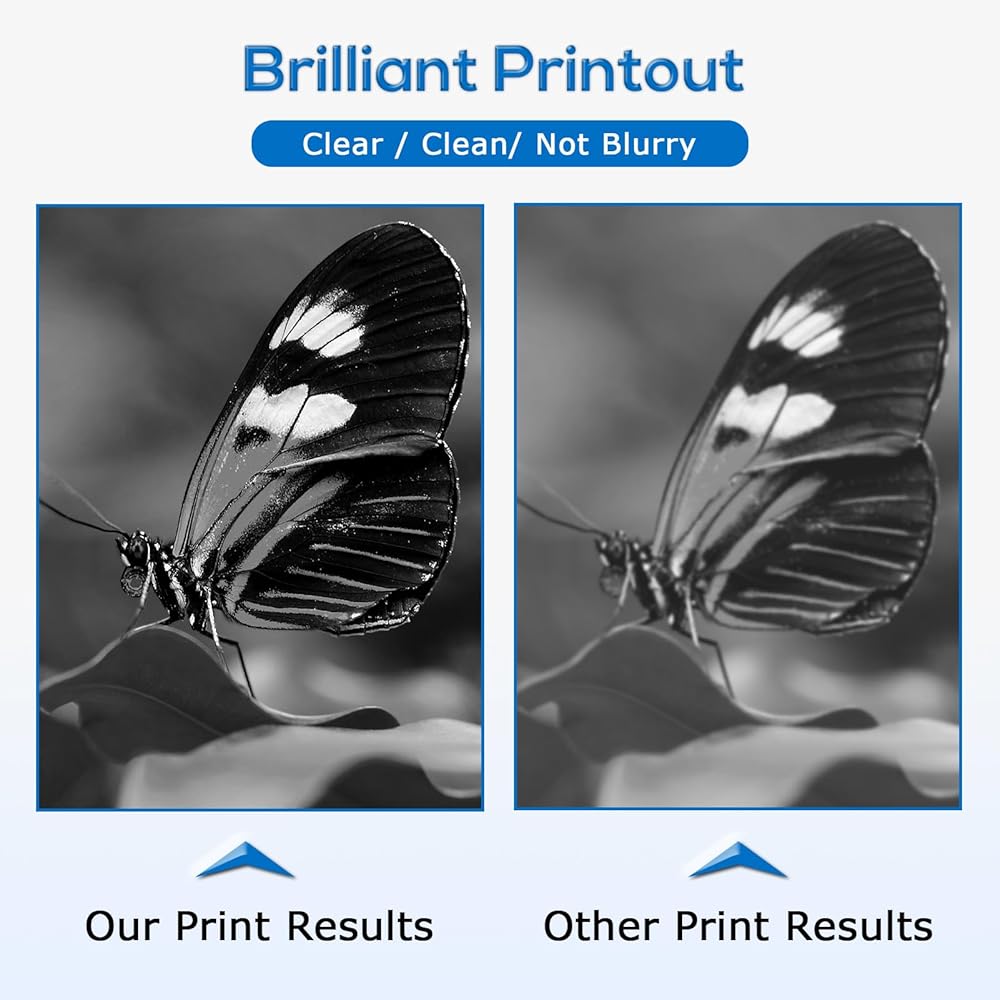
Key Features
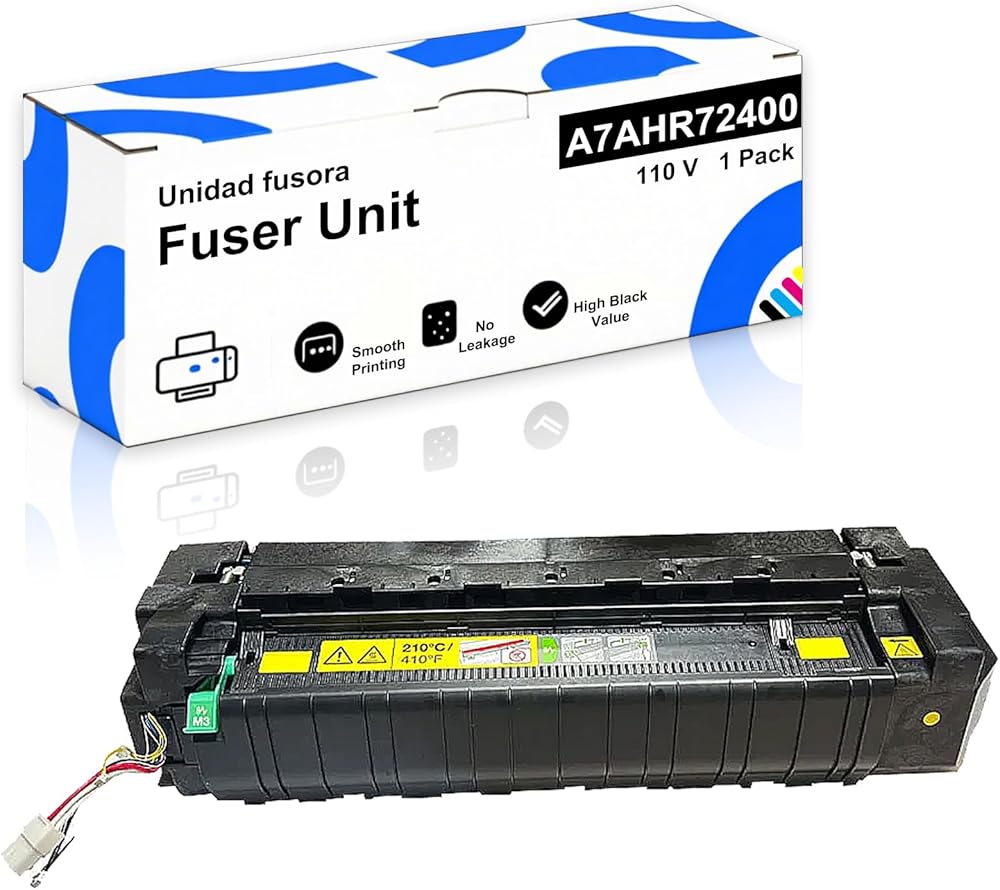
✔ Plug-and-Play Replacement – Matches OEM dimensions and electrical interfaces for seamless installation
✔ Fast Recovery Time – Ready to print within seconds after power-on
✔ Multi-Environment Use – Perfect for office documents, medical records, and commercial printing
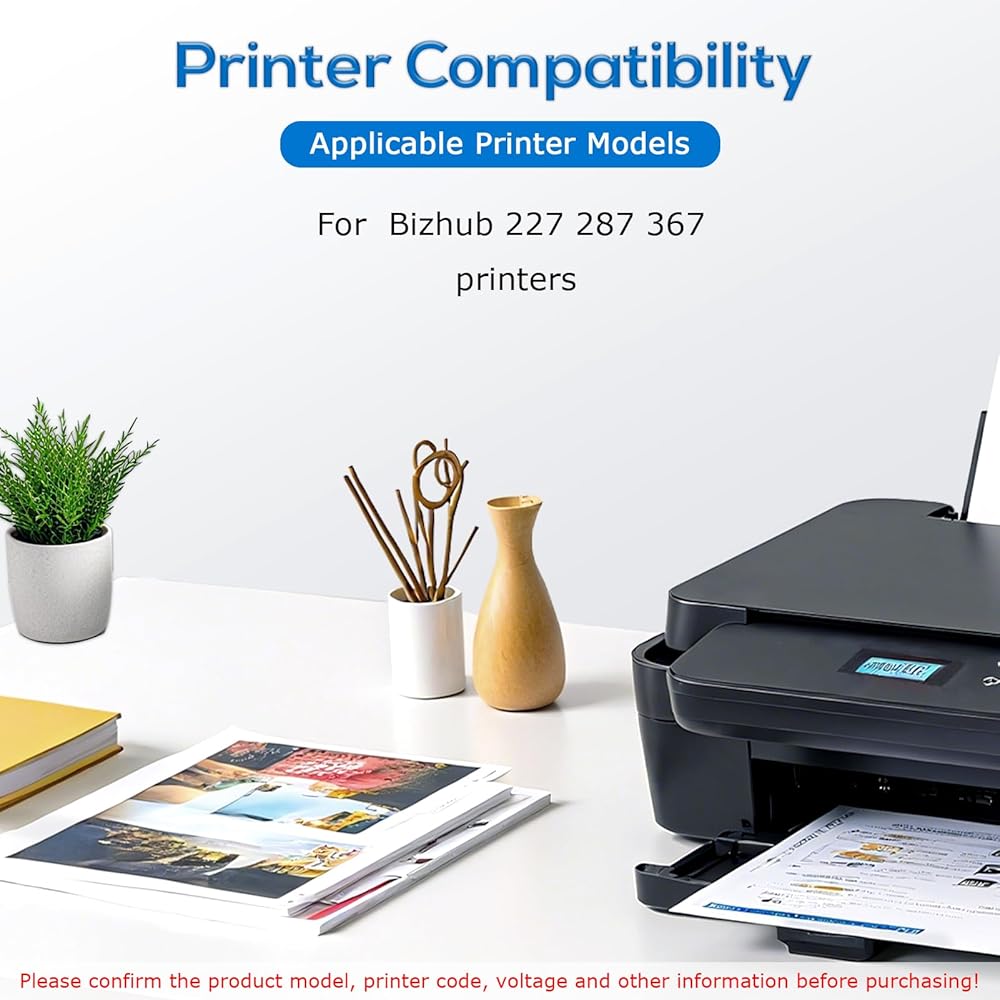
Compatibility
Fits Models: 227, 287, 367
Refer to your printer's manual to confirm the exact model compatibility
Installation Guide
Allow the printer to cool down for 30 minutes before replacing the unit
Open the rear access panel and disconnect the power cable
Release the fuser retention lever and carefully slide out the old unit vertically
Remove the protective pads from the new fuser and align it properly
Insert the new fuser until it clicks into place → Secure the lever → Close the panel → Run a test print
Maintenance Tips
Proactive Replacement: Recommended when you notice:
Faded prints; Paper curling; Unusual odors
Storage: Store in a dry, dust-free environment to extend the lifespan of the fuser
 BU-223CL BU223CL بديل وحدة حزام النقل المتوافقة مع طابعات Brother HL-L3210CW HL-L3230CDW HL-L3270CDW HL-L3290CDW MFC-L3710CW MFC-L3750CDW MFC-L3770CDW، أسود عالي الإنتاجية
KWD 55.500
BU-223CL BU223CL بديل وحدة حزام النقل المتوافقة مع طابعات Brother HL-L3210CW HL-L3230CDW HL-L3270CDW HL-L3290CDW MFC-L3710CW MFC-L3750CDW MFC-L3770CDW، أسود عالي الإنتاجية
KWD 55.500
 مجموعة Goshyda DMA Fuser الكاملة 4K 60 هرتز HDMI Overlayer Synthesizer، بطاقة الوصول المباشر للذاكرة لدمج شاشة العرض المزدوجة، للألعاب ومؤتمرات الفيديو
KWD 132.500
مجموعة Goshyda DMA Fuser الكاملة 4K 60 هرتز HDMI Overlayer Synthesizer، بطاقة الوصول المباشر للذاكرة لدمج شاشة العرض المزدوجة، للألعاب ومؤتمرات الفيديو
KWD 132.500
 79816M عدة أسطوانة الأسطوانة لطابعة الملصقات Zebra ZM600 203 ديسيبل متوحد الخواص 300 ديسيبل متوحد الخواص
KWD 20
79816M عدة أسطوانة الأسطوانة لطابعة الملصقات Zebra ZM600 203 ديسيبل متوحد الخواص 300 ديسيبل متوحد الخواص
KWD 20
 تغذية الورق باستخدام بكرة الالتقاط ووسادة الفصل المتوافقة مع LU4979001 المتوافقة مع طابعة HL L8250CDN HL L8350CDW HL L9200CDW
KWD 21
تغذية الورق باستخدام بكرة الالتقاط ووسادة الفصل المتوافقة مع LU4979001 المتوافقة مع طابعة HL L8250CDN HL L8350CDW HL L9200CDW
KWD 21