- التسوق ، اصبح سهلا.
- /
- احصل على التطبيق!
Resistor Chip Arrays
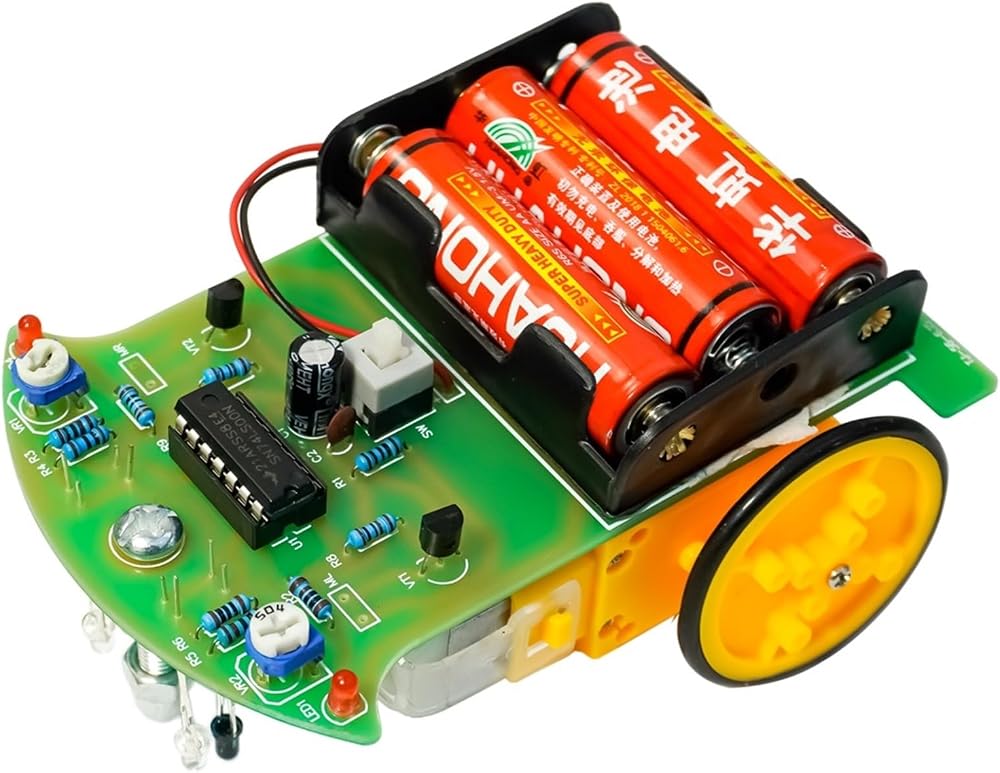
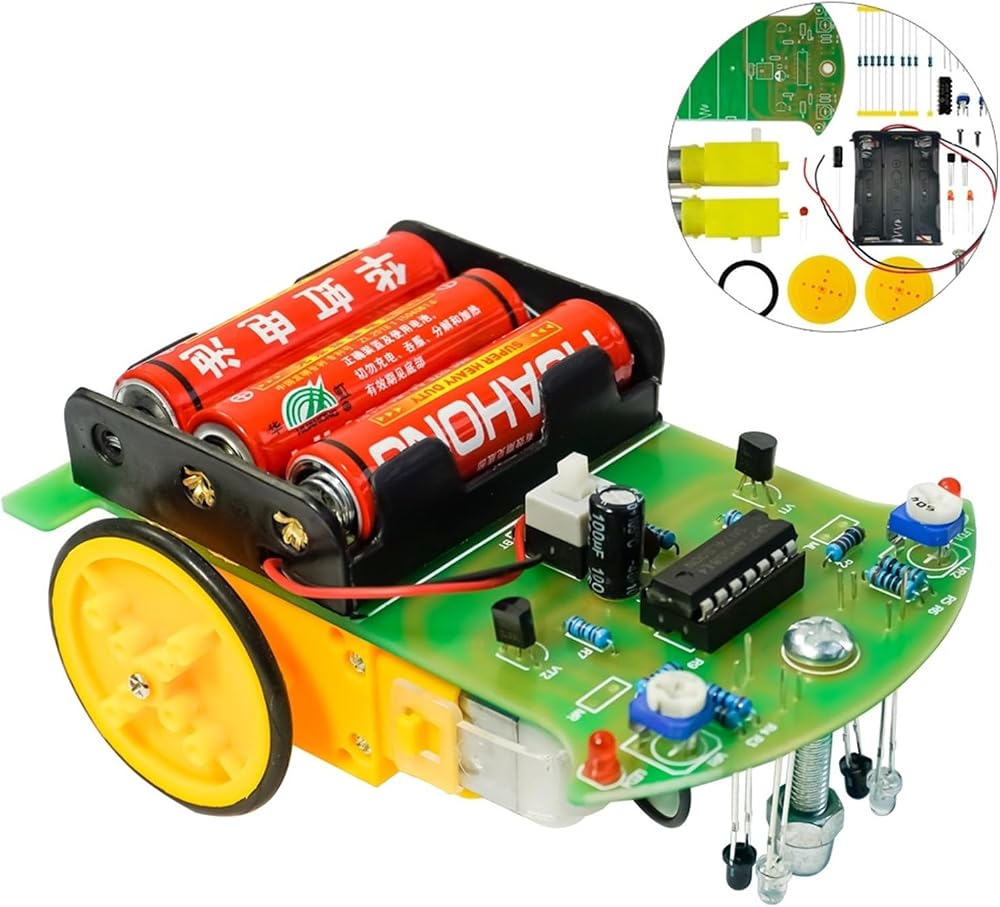
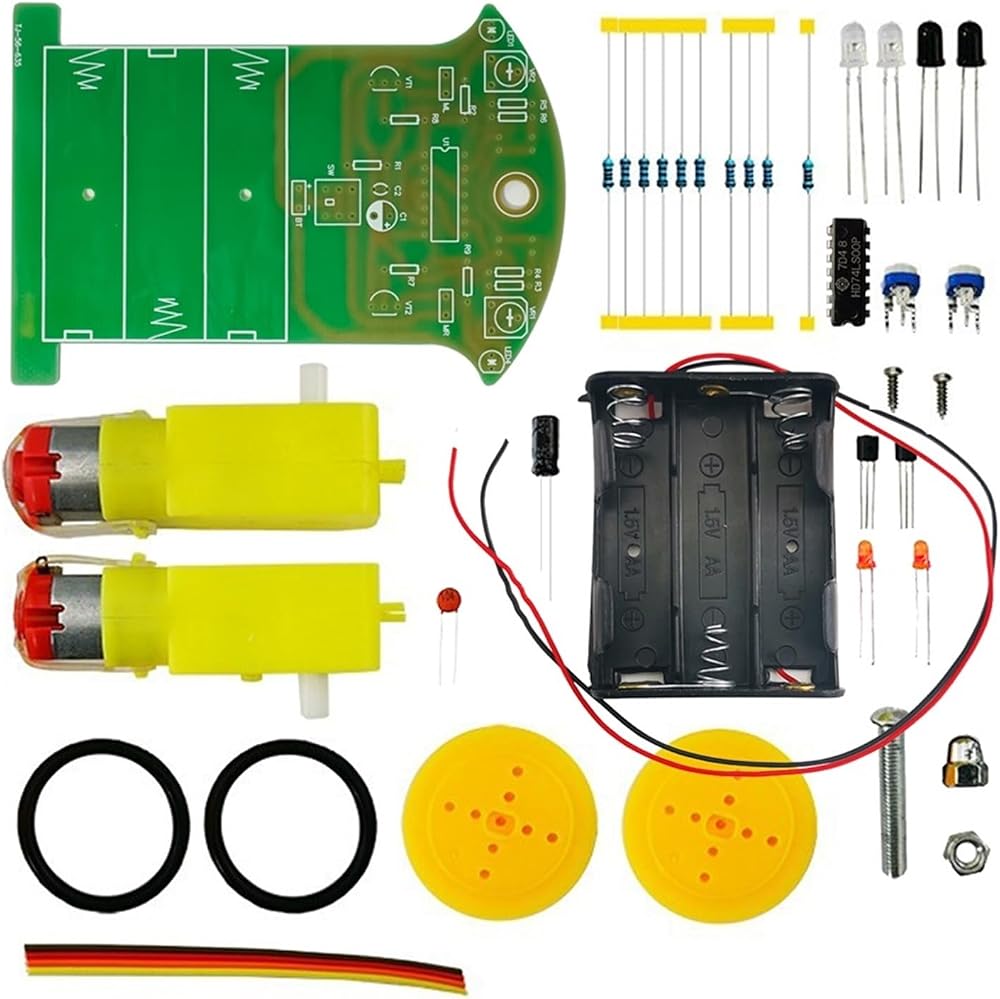
Product name: D2-8 intelligent tracking car kit
Product model: TJ-56-635
Working voltage: DC3~4.5V (3 No. 5 batteries)
PCB board size: 74 * 106mm
Product function: Through the 74SL00 chip, it can follow the black track and identify the direction.
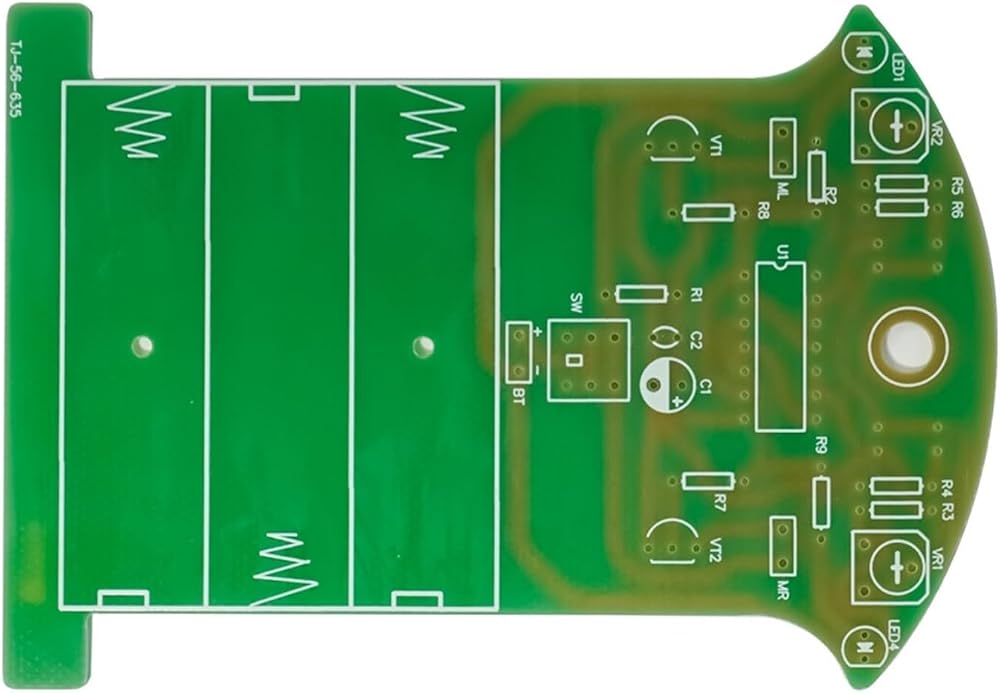
Circuit assembly
1. According to the circuit diagram and the identifier on the circuit board, connect the color ring resistor, 14-pin IC base, switch, potentiometer, three-pole
Tube, electrolytic capacitor 3.0 The red LED is welded on the circuit board. Pay attention to the correct direction of the IC base.
In addition, for the convenience of debugging, the chip will not be installed temporarily.
2. Paste and install the battery box on the circuit board according to the position of the mark and identifier on the circuit board. Pay attention to the power pad
The polarity of the should not be reversed. Generally, the red wire is the positive pole of the power supply.
3. Put the front of the circuit board upward and thread the universal wheel screw into the hole. Screw in the cardan wheel nut and tighten the cardan wheel.
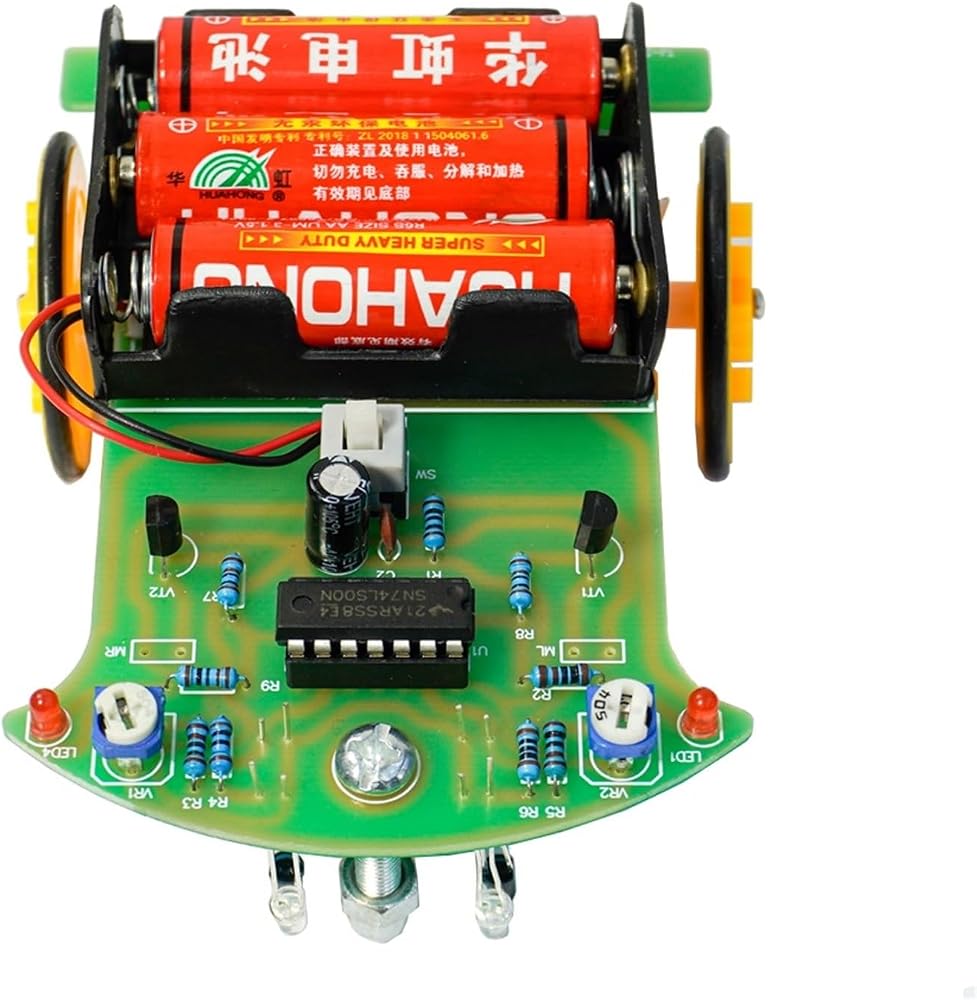
4. With the bottom of the circuit board facing upwards, press the mark on the board to 3.0 Infrared light-emitting diode and infrared receiving tube are welded on the board
The infrared light emitting diode, the receiving tube and the screw should be parallel to each other and about 5mm away from the spherical surface of the universal wheel.
5. Install 3 AA batteries in the battery box, and the switch is on. At this time, the LED should light up. If it does not light up, you may 3.0 The positive and negative electrodes of the LED are reversed. At this time, please switch the polarity. After the debugging is successful, pop up the self-locking switch and turn it off for use.
Assembly of mechanical parts
1. Put the silicone tire on the wheel.
2. Fix the wheel on the reducer shaft with hub screws.
3. Divide the conne