- Shopping, made easy.
- /
- Get the app!
patch can be used for creative DIY clothing decorations to add a special touch to your different outfits IRON-ON PATCH INSTRUCTIONS 1.Preheat your iron Set your iron to a medium to high heat setting. 2.Prepare the garment: Ensure that the garment or fabric item you plan to attach the patch to is clean and free from wrinkles. Lay it flat on a hard, sturdy, and heat-resistant surface. 3.Position the patch Place the embroidered iron-on patch face up wherever you'd like. 4.Protect the patch Place a thin cloth or cotton fabric on top of the patch before ironing. This prevents direct contact between the iron and the embroidered surface. 5.Apply heat Place the hot iron on top of the patch, directly over the design. Apply firm, even pressure without moving the iron around. Hold it in place for about 45 seconds. 6.Apply heat to the back Turn garment inside-out and place the hot iron on the back of the patch, directly over the design, for about 30 seconds. 7.Check the adhesion: Carefully lift the corner of the patch to see if it adhered to the fabric. If the patch lifts off, place it back down and reapply heat for a few more seconds until it firmly sticks. 8.Allow to set Let the patch and garment to cool down for a few minutes. Avoid touching the patch while it's still warm, as it may not have fully bonded to the fabric yet. It's generally recommended to wait at least 24 hours before washing to ensure maximum durability. Note If you've followed the above steps and your patch is still not sticking, it might be worth considering alternative attachment methods such as sewing or using fabric glue.
 Memory Bear Patterns for Sewing, Sewing Patterns for Beginners, 10Pcs Template Ruler Set, Acrylic Memory Bear Template Ruler Set, Teddy Bear Quilting Templates for Easy Sewing Template (12inch)
KWD 6.500
Memory Bear Patterns for Sewing, Sewing Patterns for Beginners, 10Pcs Template Ruler Set, Acrylic Memory Bear Template Ruler Set, Teddy Bear Quilting Templates for Easy Sewing Template (12inch)
KWD 6.500
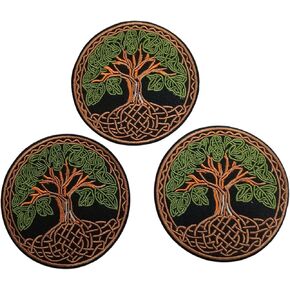 3 Pcs Sets 3.5" Tree of Life Iron On Embroidery Patches Embroidered Celtic Tree of Life Decorative Patch for Clothes Dress Jeans Hat Jackets and for Bagpacks
KWD 4.500
3 Pcs Sets 3.5" Tree of Life Iron On Embroidery Patches Embroidered Celtic Tree of Life Decorative Patch for Clothes Dress Jeans Hat Jackets and for Bagpacks
KWD 4.500
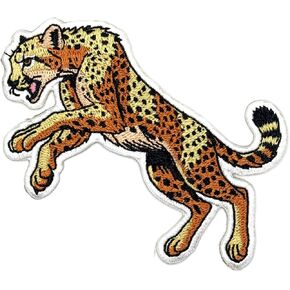 3.5" Cheetah Iron On Patch - Embroidered Leopard Jaguar Animals Applique Appliques Iron On Sew On Patches for Holes, Clothing, Jeans, Hat, Backpacks, Clothes
KWD 3
3.5" Cheetah Iron On Patch - Embroidered Leopard Jaguar Animals Applique Appliques Iron On Sew On Patches for Holes, Clothing, Jeans, Hat, Backpacks, Clothes
KWD 3
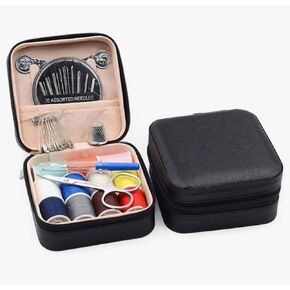 18-Piece Portable Travel Sewing Kit - Compact Emergency Repair Kit with Zipper Fix Tools - Mini Sewing Box for Home Use & Quick Stitch Solutions
KWD 7
18-Piece Portable Travel Sewing Kit - Compact Emergency Repair Kit with Zipper Fix Tools - Mini Sewing Box for Home Use & Quick Stitch Solutions
KWD 7