- التسوق ، اصبح سهلا.
- /
- احصل على التطبيق!
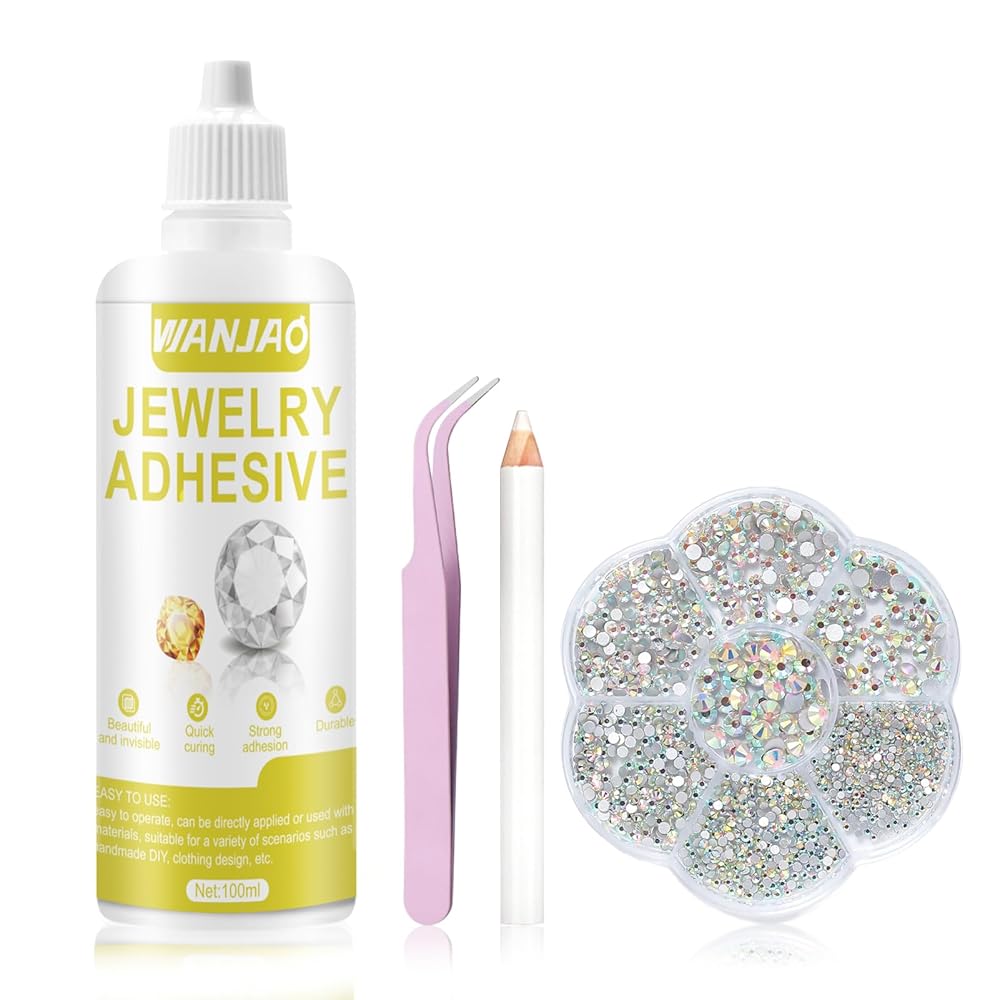
[Professional-grade rhinestone DIY kit]
This kit is designed for handcraft enthusiasts. It includes high-quality rhinestone glue and multi-sized flat-bottomed diamonds. With professional tools, you can easily complete various decoration projects. The glue is highly sticky and does not damage the surface; the rhinestones have a stunning refraction effect under the sun and are long-lasting.
Usage steps:
1. Clean the pasting surface and keep it dry.
2. Glue application:
Method 1 (direct glue application):
Use the tip of the glue bottle to apply a small amount of glue to the pasting area (avoid excessive overflow).
Method 2 (precise glue application):
Dip a toothpick in glue and apply it to the location where it needs to be pasted to control the amount more accurately.
3. Paste rhinestones
Use a dot drill pen:
Lightly press the dot drill pen tip to absorb the flat surface of the rhinestone. Align the rhinestone to the glue application location, press it lightly to fix it, and release it after 2-3 seconds.
Use tweezers:
Use tweezers to clamp the edge of the rhinestone to avoid scratching the drill surface. Dip a little glue on the back of the rhinestone, put it in the target location and press it lightly to fix it.
4. Curing
After pasting, check if there is any skewness, and use tweezers to fine-tune the position while the glue is not dry. Let it stand for 24 hours to allow the glue to completely cure.
5. Cleaning and storage
Clean the bottle mouth and tighten the glue cap to prevent drying. Put the remaining rhinestones back into the box to avoid scattering.
Note:
1. Apply glue in small amounts and multiple times. Too much glue will seep into the drill surface and affect the gloss.
2. Apply and adjust quickly to avoid the glue being difficult to move after it is half dry.
3. Keep ventilation to avoid glue contact with skin or eyes.
4. Keep away from children to avoid accidental ingestion.
 -13%
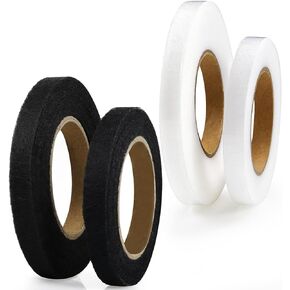
4 لفات بلانتيونال يمكن كيها على شريط الحاشية، شبكة لاصقة خفيفة ومتوسطة الوزن، لا تتطلب الخياطة، شريط حاشية منسوج من القماش لستائر ملابس البنطلونات، 1 بوصة × 22 ياردة لكل منها (أبيض وأسود)
KWD 3.500
-13%
4 لفات بلانتيونال يمكن كيها على شريط الحاشية، شبكة لاصقة خفيفة ومتوسطة الوزن، لا تتطلب الخياطة، شريط حاشية منسوج من القماش لستائر ملابس البنطلونات، 1 بوصة × 22 ياردة لكل منها (أبيض وأسود)
KWD 3.500
 هيتنبوند لاصق حاشية قابل للكي، عبوة متنوعة، عادي ووزن فائق
KWD 2.500
هيتنبوند لاصق حاشية قابل للكي، عبوة متنوعة، عادي ووزن فائق
KWD 2.500
 سلحفاة 8 مخاريط بطول 3000 ياردة كل خيط بكرة للخياطة جميع الأغراض خيط الخياطة 100% خيط بوليستر لآلة خياطة اللحف الأوفرلوك 40S/2 أبيض + أسود
KWD 6
سلحفاة 8 مخاريط بطول 3000 ياردة كل خيط بكرة للخياطة جميع الأغراض خيط الخياطة 100% خيط بوليستر لآلة خياطة اللحف الأوفرلوك 40S/2 أبيض + أسود
KWD 6
 أبيض أسود مفرغ زهرة الدانتيل طوق الخياطة على الملابس تقليم المطرزة زين العنق DIY فستان الزفاف التبعي (نمط 2 (أحمر))
KWD 3.500
أبيض أسود مفرغ زهرة الدانتيل طوق الخياطة على الملابس تقليم المطرزة زين العنق DIY فستان الزفاف التبعي (نمط 2 (أحمر))
KWD 3.500