- التسوق ، اصبح سهلا.
- /
- احصل على التطبيق!
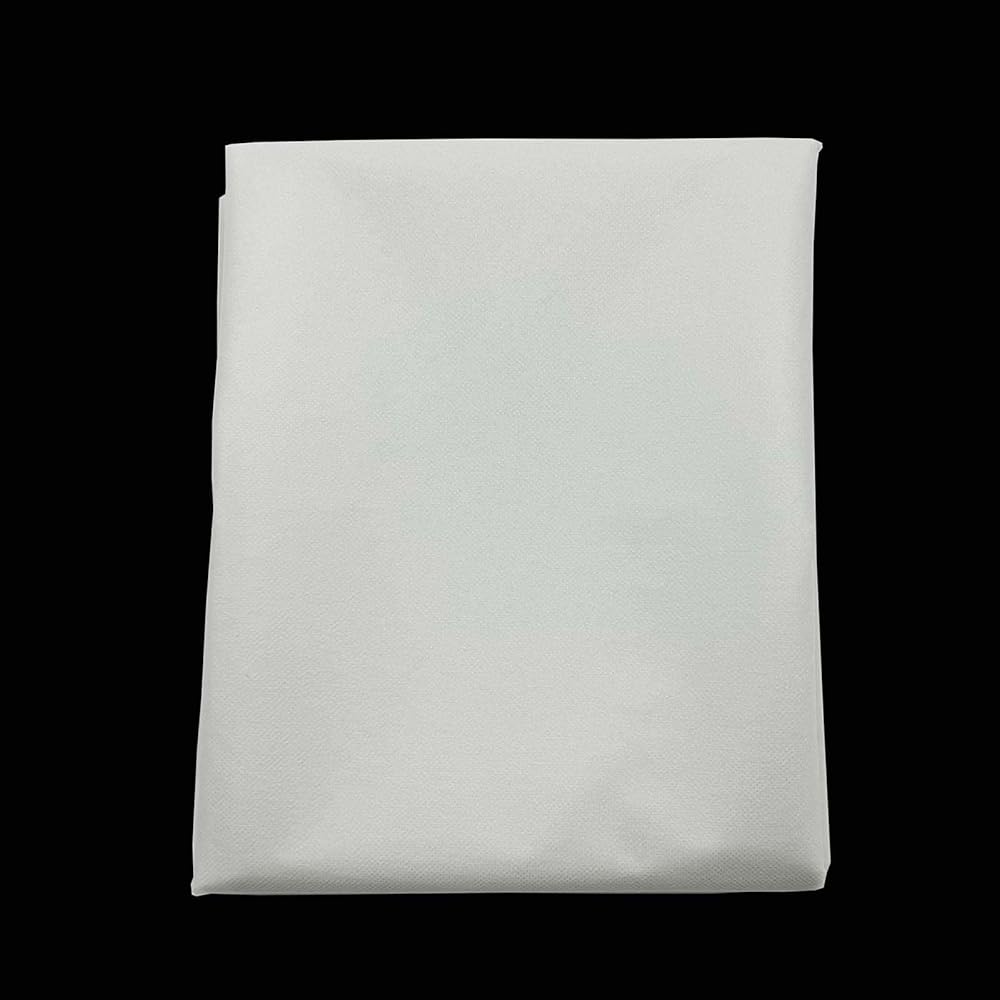
YLM1991 Cut Away/Tear-Away Light Weight Fusible Iron On Embroidery Machine Stabilizer Economical and cost-effective 1,width 50cm/19.6inch,Length 3 Yards( get 2pcs parchment paper free) cut away embroidery stabilizer, Cut into Variable Sizes for many sizes of embroidery hoops. 2, 100% safe and high-quality material, safe to use for skin-touch clothes. 3, 1.23oz (35 Grams) - Light weight embroidery stabilizer for projects with light to medium stitch density. 4, Using two layers for heavier embroidery projects. How to use? fusible Iron On stabilizer has a side with shiny coating which can be ironed to the wrong side to the fabric, so it can be fix to the fabric without a hoop. Using Fusible Iron On stabilizer will prevent stretching of the fabric during the hooping process,The adhesive needs to cool to fully bond with the fabric,Remember to always do a test piece first to ensure the fusible fabric.1.Cut the fusible fabric to the size of your embroidery piece.2.Position the fusible fabric on the backside of the embroidery, making sure theadhesive side (which will feel rougher) is facing the fabric.3.Place a parchment paper over the fusible fabric to protect your iron and the embroidery.4.temperature medium to high setting,Move the iron slowly to ensure all areas receive heat,Continue ironing for about 10-15 seconds in each area.5.Once you've ironed the entire piece, let it cool down completely before handling.6. Permanent Embroidery Backing is done,let's Embroidery
 واجهة قابلة للانصهار بالمكواة خفيفة الوزن للخياطة، واجهة غير منسوجة من جانب واحد لمستلزمات الحرف اليدوية، 39 × 78 انش
KWD 2.500
واجهة قابلة للانصهار بالمكواة خفيفة الوزن للخياطة، واجهة غير منسوجة من جانب واحد لمستلزمات الحرف اليدوية، 39 × 78 انش
KWD 2.500
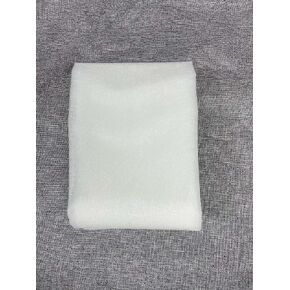
 واجهة منسوجة قابلة للانصهار، مكواة بيضاء متوسطة الوزن على واجهة للخياطة واللحف والحرف اليدوية والملابس والحقائب 59 بوصة × 78 بوصة (أبيض)
KWD 3.500
واجهة منسوجة قابلة للانصهار، مكواة بيضاء متوسطة الوزن على واجهة للخياطة واللحف والحرف اليدوية والملابس والحقائب 59 بوصة × 78 بوصة (أبيض)
KWD 3.500
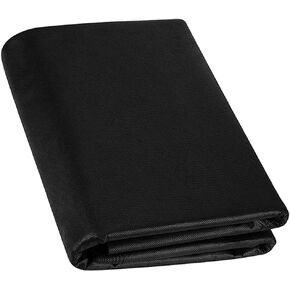 تنجيد الأسود غلاف الغبار Cambric استبدال النسيج 62 "× 118" (نسيج غلاف الغبار مثبط الحريق 3YDS)
KWD 5
تنجيد الأسود غلاف الغبار Cambric استبدال النسيج 62 "× 118" (نسيج غلاف الغبار مثبط الحريق 3YDS)
KWD 5
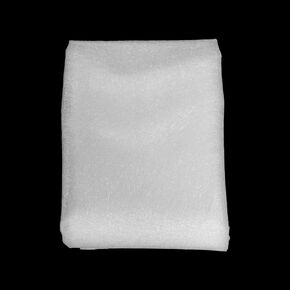 59 "× 79" مزدوج الجوانب الحديد على التوصيل القابل للداخل من أجل الخياطة ، قماش أبيض خفيف الوزن ل DIY Craft
KWD 7
59 "× 79" مزدوج الجوانب الحديد على التوصيل القابل للداخل من أجل الخياطة ، قماش أبيض خفيف الوزن ل DIY Craft
KWD 7