- Shopping, made easy.
- /
- Get the app!
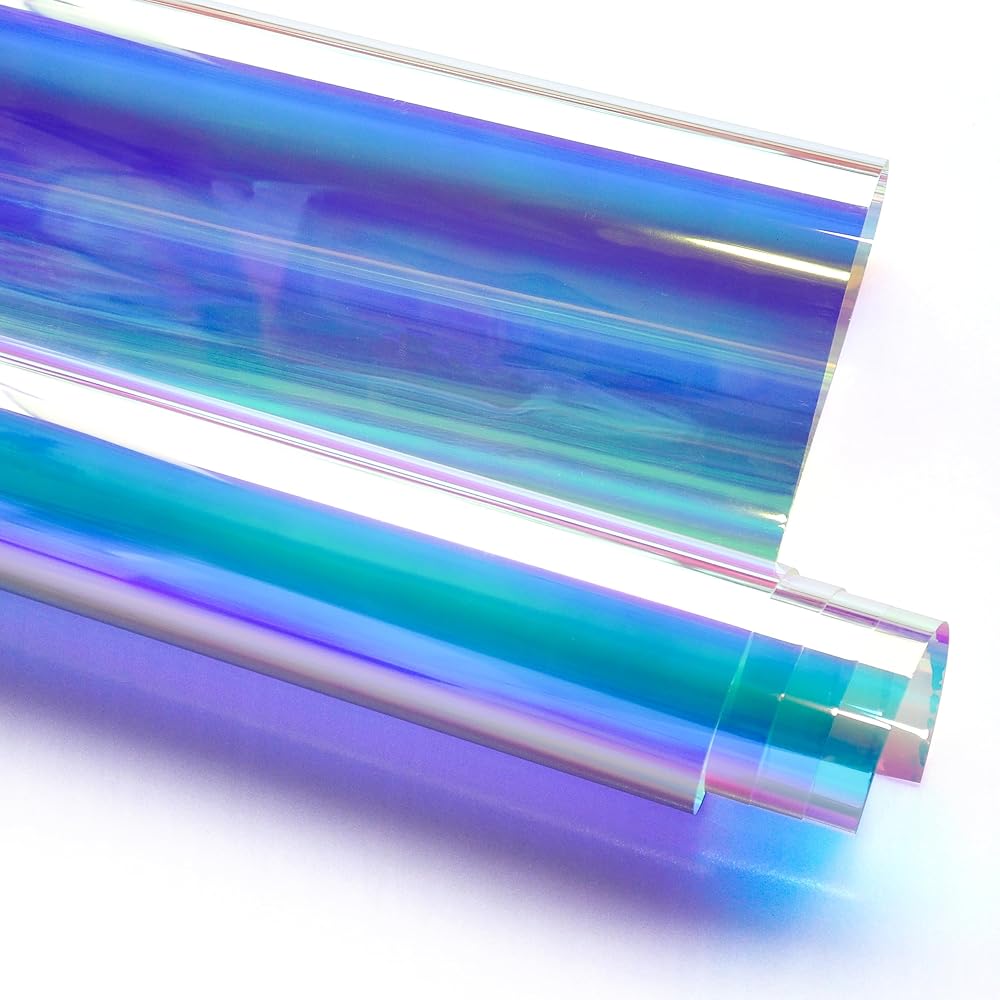
Specification:
Material: PET
Features: self-adhesive, anti uv, heat control, sun blocking, waterproof, anti-friction, anti-shatter, easy to install and remove
Package: 1 x window decoration film
How to peel off the backing protective film?
Installation Steps:
Step 1.Measure the window surface (target surface)
Step 2.Cut the film. Leave an extra inch is better
Step 3.Clean the target surface thoroughly with much soapy water
Step 4.Peel off transparent back film (Use 2 pieces of tape to stick to the corner and pull it apart)
Step 5.Install the film onto the window
Step 6.Use the squeegee to remove excess water and bubbles. (From top to bottom, from the middle to the sides)
Step 7.Cut off the edge and enjoy your work
 -24%
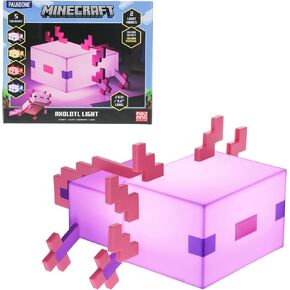
Paladone Minecraft Axolotl Light, Five Color Modes, Minecraft Lamp to Decorate Your Gaming Desk or Night Stand
KWD 11
-24%
Paladone Minecraft Axolotl Light, Five Color Modes, Minecraft Lamp to Decorate Your Gaming Desk or Night Stand
KWD 11
 Beferr Sunflower Garlands Decor-2 Pack 7.5ft/Pcs Artificial Sunflower Vines Silk Hanging Flowers with Green Leaves for Wedding Birthday Party Home Wall Decorations
KWD 7
Beferr Sunflower Garlands Decor-2 Pack 7.5ft/Pcs Artificial Sunflower Vines Silk Hanging Flowers with Green Leaves for Wedding Birthday Party Home Wall Decorations
KWD 7
 Hem Incense Sticks Variety Pack #13 and Insence Stick Holder Bundle with 5 Popular Floral Fragrances - Inciensos Aromaticos para La Casa - 100 Insence-Sticks
KWD 4.500
Hem Incense Sticks Variety Pack #13 and Insence Stick Holder Bundle with 5 Popular Floral Fragrances - Inciensos Aromaticos para La Casa - 100 Insence-Sticks
KWD 4.500
 HIDBEA One Way Privacy Film Adhesive Mirror Reflective Glass Tint Sun Blocking Heat Control Anti UV Window Sticker for Home Office, 23.6 Inches x 6.5 feet, Blue-silver (Window Film Privacy)
KWD 7
HIDBEA One Way Privacy Film Adhesive Mirror Reflective Glass Tint Sun Blocking Heat Control Anti UV Window Sticker for Home Office, 23.6 Inches x 6.5 feet, Blue-silver (Window Film Privacy)
KWD 7