- التسوق ، اصبح سهلا.
- /
- احصل على التطبيق!
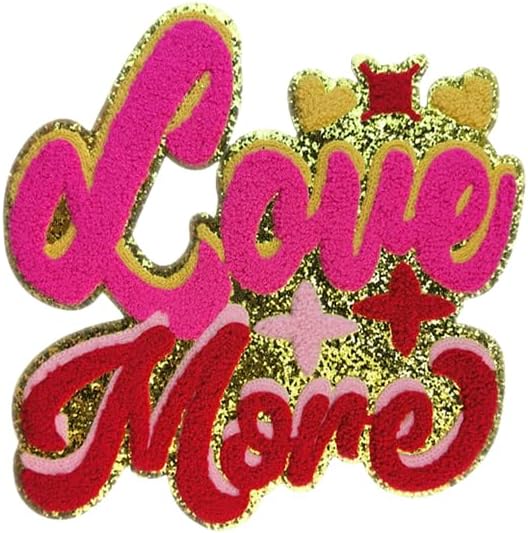
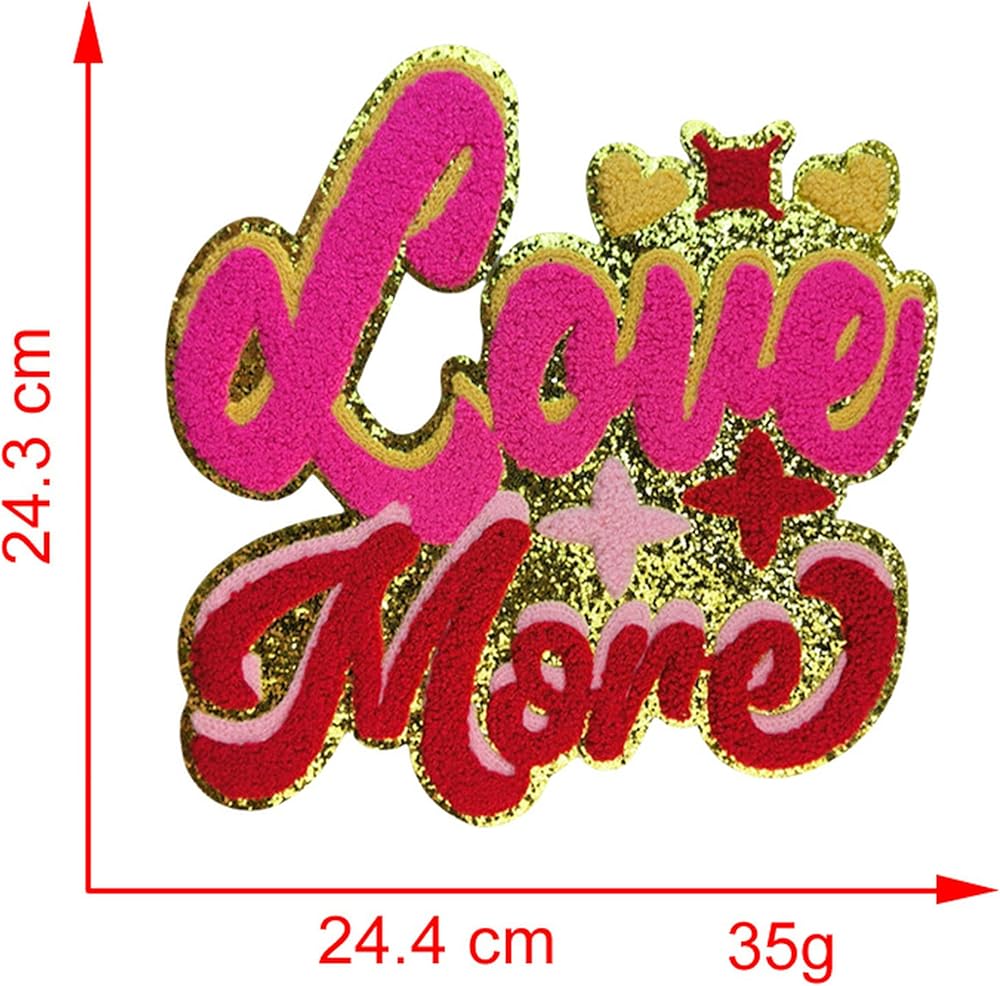
[How to iron cloth stickers]
1: Put the cloth sticker on the position you want to paste first. The side with hot melt glue is attached to the clothes. Do not tear off the glue on the back. Preheat the iron and iron from the front of the cloth sticker for 10-20 seconds. Fixed position of cloth paste. It is also possible to fix the position of the cloth stickers with needle thread before ironing to prevent the cloth stickers from shifting.
2: Turn the fixed position of the cloth sticker together with the clothing, and iron from the reverse side for 30-60 seconds to ensure that the adhesive melts and the cloth sticker is firmly attached to the clothing.
3: Finally, iron from the front for 1-2 minutes, mainly ironing the edges and corners of the cloth stickers to ensure that the surface is smooth and blends perfectly with the clothes.
Note: Cloth stickers with sequins, beads, rhinestones, silk flowers, hair balls, and cloth stickers embroidered with metal threads should be ironed from the reverse side first, and then trim the corners from the front after the cloth stickers are firmly fixed. Damage to sequins or other accessories on the front. Keep the clothes dry and do not spray water on the cloth or clothes when ironing. After the cloth stickers are ironed, they can generally be closely combined with the clothes for a long time. If the cloth sticker comes off after a period of time, or after washing, it means that the iron temperature is too low during ironing or the ironing time is too short. You can repeat the original operation to iron the cloth sticker again or stitch your hands to ensure it does not come off.
 -4%
3 ياردة حجر الراين الشريط شرابة سلسلة، حجر الراين هامش تقليم الماس كريستال شرابة شرابة شرابة شرابة شرابة للخياطة الحرف زفاف الملابس اكسسوارات الإناث مجوهرات شخصية DIY الديكور
KWD 11.500
-4%
3 ياردة حجر الراين الشريط شرابة سلسلة، حجر الراين هامش تقليم الماس كريستال شرابة شرابة شرابة شرابة شرابة للخياطة الحرف زفاف الملابس اكسسوارات الإناث مجوهرات شخصية DIY الديكور
KWD 11.500
 ماكولز مجموعة أنماط خياطة التنورة/البناطيل من ميسز، Y (XS-S-M)، متعددة الالوان، قطعتين
KWD 8
ماكولز مجموعة أنماط خياطة التنورة/البناطيل من ميسز، Y (XS-S-M)، متعددة الالوان، قطعتين
KWD 8
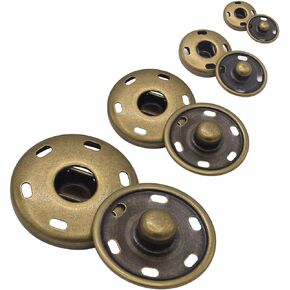 55 مجموعة من الأزرار المعدنية للخياطة، أزرار كبس متينة لخياطة الملابس، 4 مقاسات (فضي)
KWD 5.500
55 مجموعة من الأزرار المعدنية للخياطة، أزرار كبس متينة لخياطة الملابس، 4 مقاسات (فضي)
KWD 5.500
 7 قطعة دمية مفاجأة الكرتون لطيف فتاة حورية البحر زين المطرزة بقع للملابس DIY بها بنفسك الحديد على التصحيح الترتر
KWD 4
7 قطعة دمية مفاجأة الكرتون لطيف فتاة حورية البحر زين المطرزة بقع للملابس DIY بها بنفسك الحديد على التصحيح الترتر
KWD 4