- التسوق ، اصبح سهلا.
- /
- احصل على التطبيق!
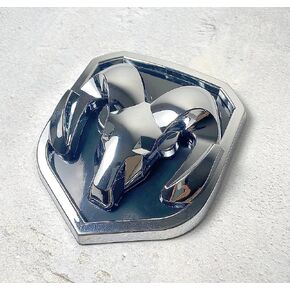
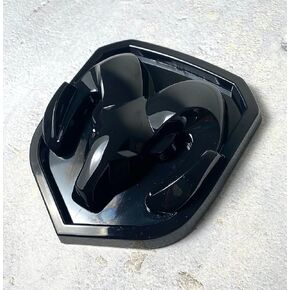
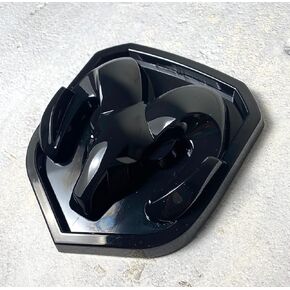
𝐋𝐢𝐠𝐡𝐭𝐞𝐝 𝐑𝐆𝐁 𝐆𝐫𝐢𝐥𝐥𝐞 𝐄𝐦𝐛𝐥𝐞𝐦
HOW TO INSTALL LIGHTED RGB EMBLEM
Step 1: Install the Led Lamp file at hand phone through App Store.
Set up Bluetooth with Led Lamp and vehicle.
** In case no blue tooth we can use enclosed Led Lamp controller **
Step 2: Disconnect vehicle Battery.
Step 3: Remove a Current Grille Logo Emblem using any suitable methods. Be careful not to damage car's painted surface. Then prepare surface by removing the remaining glue, grease with paint safe cleaners.
Step 4: Determine the best routing of wires at this time.
⚠WARNING: Consult your vehicle's manual for warranty related information prior to any modification to the factory parts.Step 5: From the parts supplied in the package identify Lighted Logo Emblem and mounting hardware kit.
Step 6: Fish the wire through the Grille and route underneath a car to a close proximity to the car's electrical wire loom.
Step 7: Take Ring terminal and prepare Black (ground) wire of Logo Emblem harness for ground termination by stripping 3/8" wire insulation and crimping the Ring terminal, using proper hand crimping tools.
Step 8: Attach ring terminal to the vehicle metal, uncoated and rustproof point by using sheet metal screw provided.
NOTE: If drilling a pilot hole is necessary - be careful not to drill through any fascia panel.
WIRING COLOR CODES FOR LIGHTED LOGO EMBLEM
Black ⮞ Ground
Red ⮞ Running
Step 9: Attach Red wire from the Lighted Emblem to the car's corresponding TAIL signal wire as determined in Step 9 by using the Wire Tap.
Step 10: Attach Red wire from the Lighted Emblem to the car's corresponding wire by using the Wire Tap.
Step 11: Reconnect the battery
Step 12: Test the Lights for proper operations. Turn your vehicle's RUNNING LIGHTS (headlights) ON and check Emblem lights for proper operation.
Step 13: Secure wires in place by using provided cable ties.
NOTE: If ANY of your vehicle lighting functions DO NOT operate with your Lighted Logo Emblem appropriately, verify functions with a circuit tester. If the results continue to be the same, have a qualified repair person service your car wiring harness and splice connection before you use your Lighted Emblem.
IF ALL LIGHT FUNCTIONS WORK PROPERLY, YOU ARE READY TO USE PRODUCTStep 14: Peel off a protective liner from the backing pressure sensitive adhesive tape on the Emblem then position it on the car by applying reasonable force to secure emblem in place.
** Turn on power at we can select the light colour at led controller **
𝐈𝐌𝐏𝐎𝐑𝐓𝐀𝐍𝐓 𝐒𝐀𝐅𝐄𝐓𝐘 𝐏𝐑𝐄𝐂𝐀𝐔𝐓𝐈𝐎𝐍𝐒
⚠ 𝐖𝐀𝐑𝐍𝐈𝐍𝐆: Do not submerge your Lighted Logo Emblem in water. Doing so may cause damage to the circuitry.
⚠ 𝐖𝐀𝐑𝐍𝐈𝐍𝐆: Check with your current Local and State Rules; Regulations for any additional requirements and limitations prior to installing and using of this product.
𝐏𝐀𝐂𝐊𝐀𝐆𝐄 𝐂𝐎𝐍𝐓𝐄𝐍𝐓𝐒
Lighted Logo Emblem with Wires
3 Cable Ties
1 Wire taps
1 Ring Terminal
1 Butt Splice Connector
1 Screw