- Shopping, made easy.
- /
- Get the app!
ADVANTAGE:
1. Prepare Tools and Materials: Before starting the installation, make sure you have the following tools and materials: wrench, screwdriver, wire stripper, electrical tape, wire connectors, mounting bracket, power wire, sensor wire, etc.
2. Determine the Installation Location: Choose a suitable location to install the gauge, typically on the dashboard. Ensure the installation position does not obstruct the driver's view and allows for easy reading of the gauge.
3. Install the Gauge: Use a screwdriver and the mounting bracket to secure the gauge in the chosen location. Ensure the gauge is securely installed and does not wobble or loosen.
4. Connect the Power Wire: Connect the power wire to the appropriate power source. This is typically the positive terminal of the vehicle's battery or another suitable power interface. Ensure the connection is secure and use electrical tape for insulation.
5. Connect the Sensor Wire: Connect the sensor wire to the appropriate interface between the gauge and the engine. Follow the instructions in the product manual to connect the sensor wire to the correct location and ensure a secure connection.
6. Connect Other Cables: Depending on your needs, connect other cables such as the RS232 output cable or cables for connecting to other external devices.Ensure proper connections and use electrical tape for insulation as needed.
7. Complete the Installation: Check that all connections are secure and ensure the gauge is firmly installed. Reinstall the vehicle's dashboard or other components to complete the installation process.
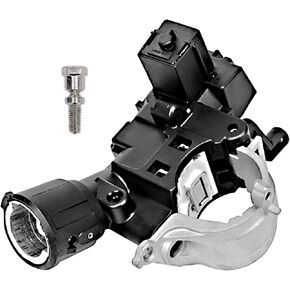
 Ignition Lock Housing 989-019 Compatible with Ford Escape 2008-2012, Focus 2008-2011, Mazda Tribute 2008-2011, Mercury Mariner 2008-2010, Ignition Lock Flange 9L8Z-3511-A W302562-S300
KWD 18
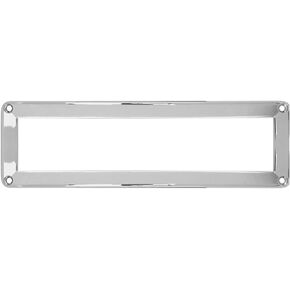
 GG Grand General 68402 Chrome Plastic A/C and Heater Control Bezel for Freightliner
KWD 8.500
 Sunroof Moon Roof Motor Left or Right Compatible with Ford Explorer 2011-2017 Sun Roof Motor BB5Z-15790-A BB5Z15790A (2 Pack)
KWD 45
 Ignition Switch Lock Cylinder Door Lock Cylinder 703369 Compatible with 1997-2018 Ford Econoline E-150 E-250 E-350 Van Replace#: 703369 597638 707624 DL5886 - Fast Auto Keys
KWD 14.500