- التسوق ، اصبح سهلا.
- /
- احصل على التطبيق!
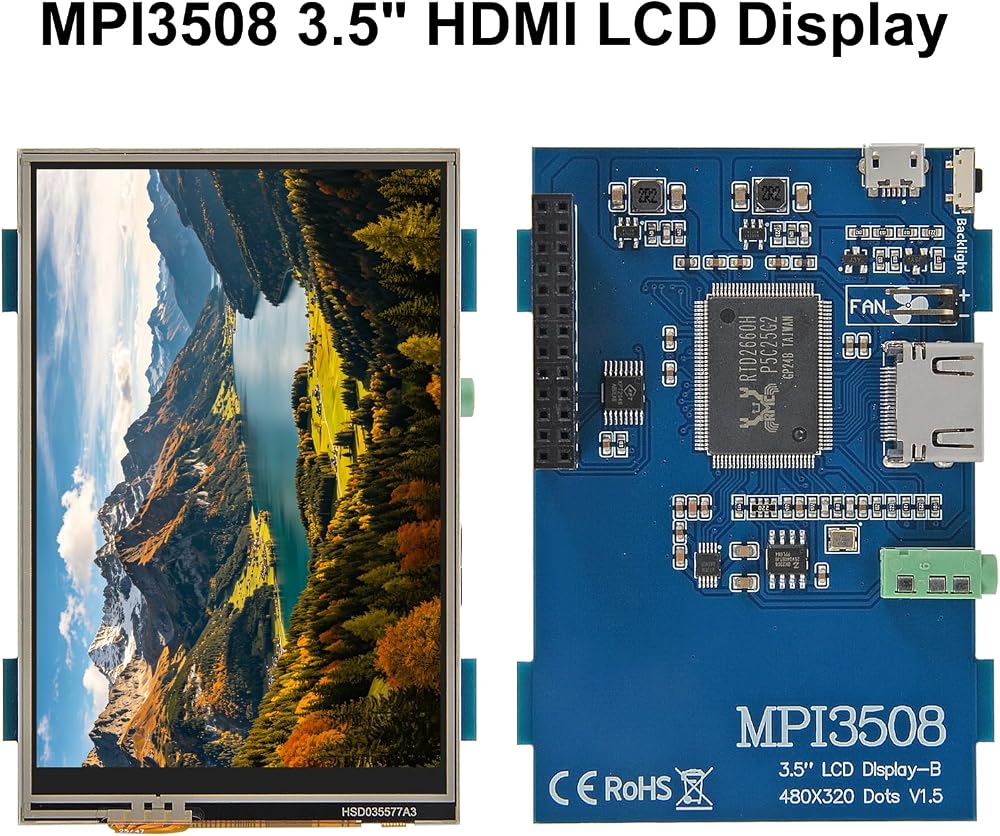
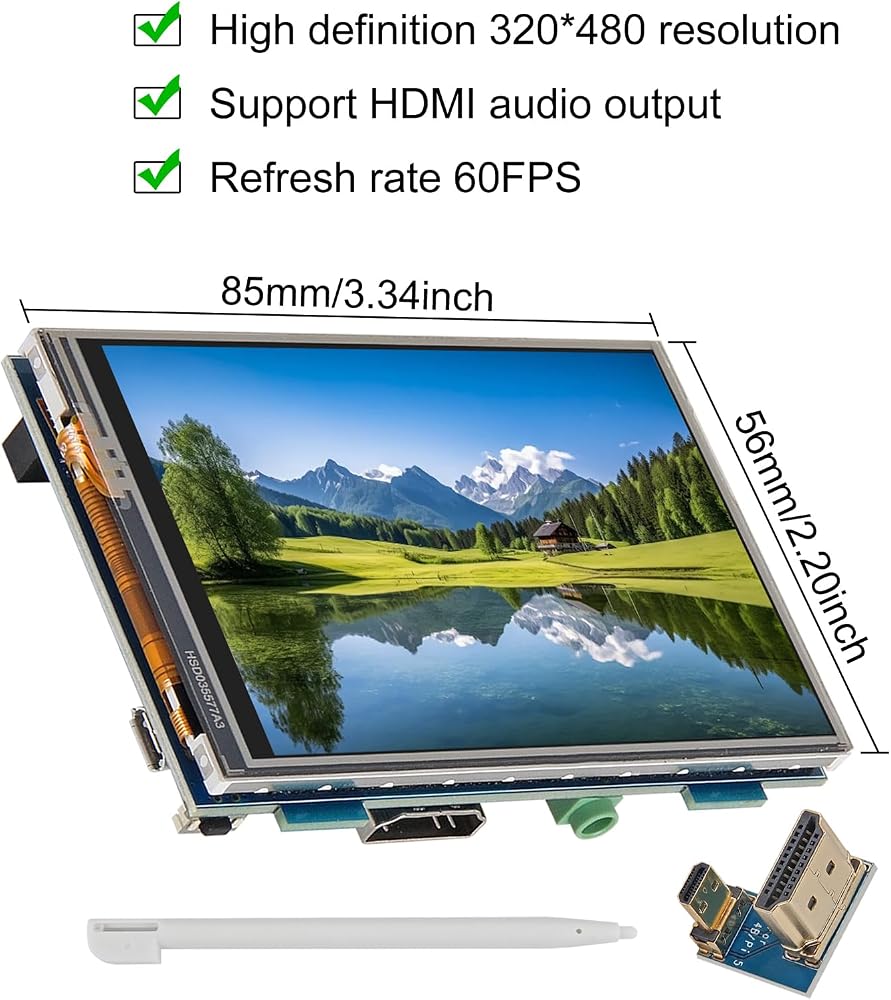
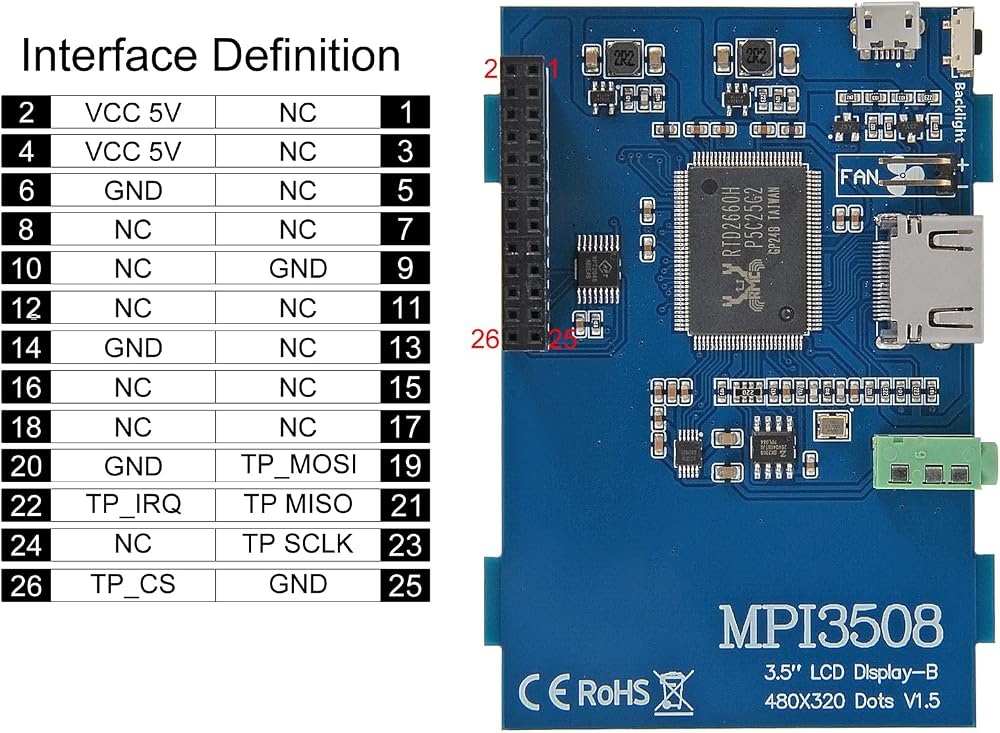
Backlight button: backlight brightness adjustment button, short press backlight changes by 10%, long press 3 seconds to close backlight
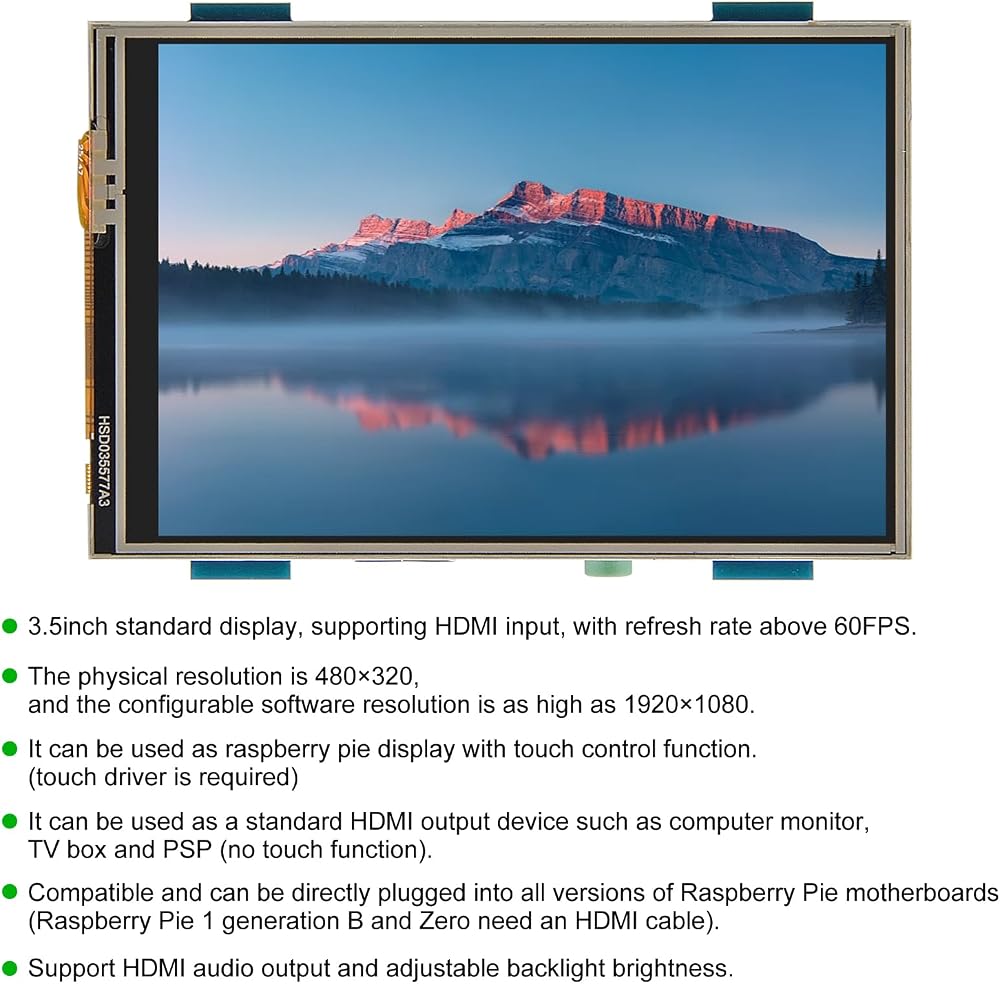
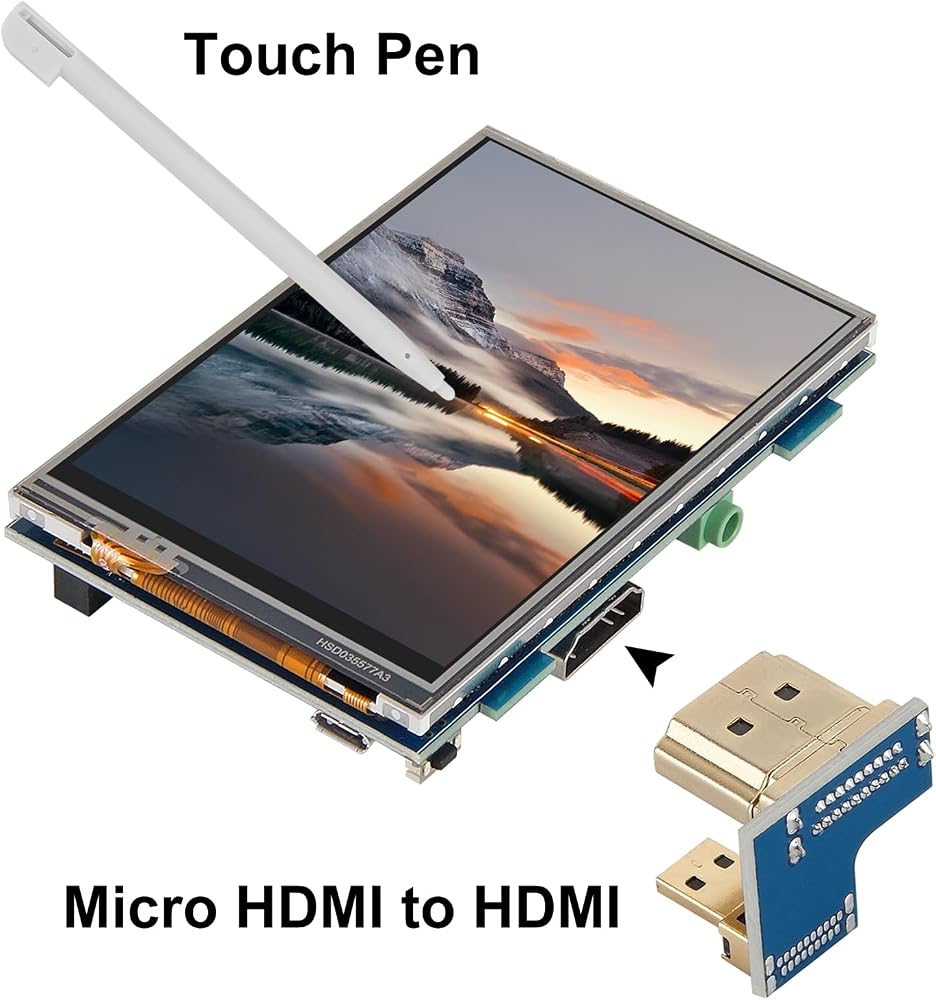
HDMI interface: HDMI signal input interface
Amplifier interface: HDMI audio output interface
USB power supply interface: provide power for ordinary display (5V 1A)
Transaction raspberry pie 26PIN base: gets power and return touch from this area when used as a raspberry pie monitor
How to use as PC monitor
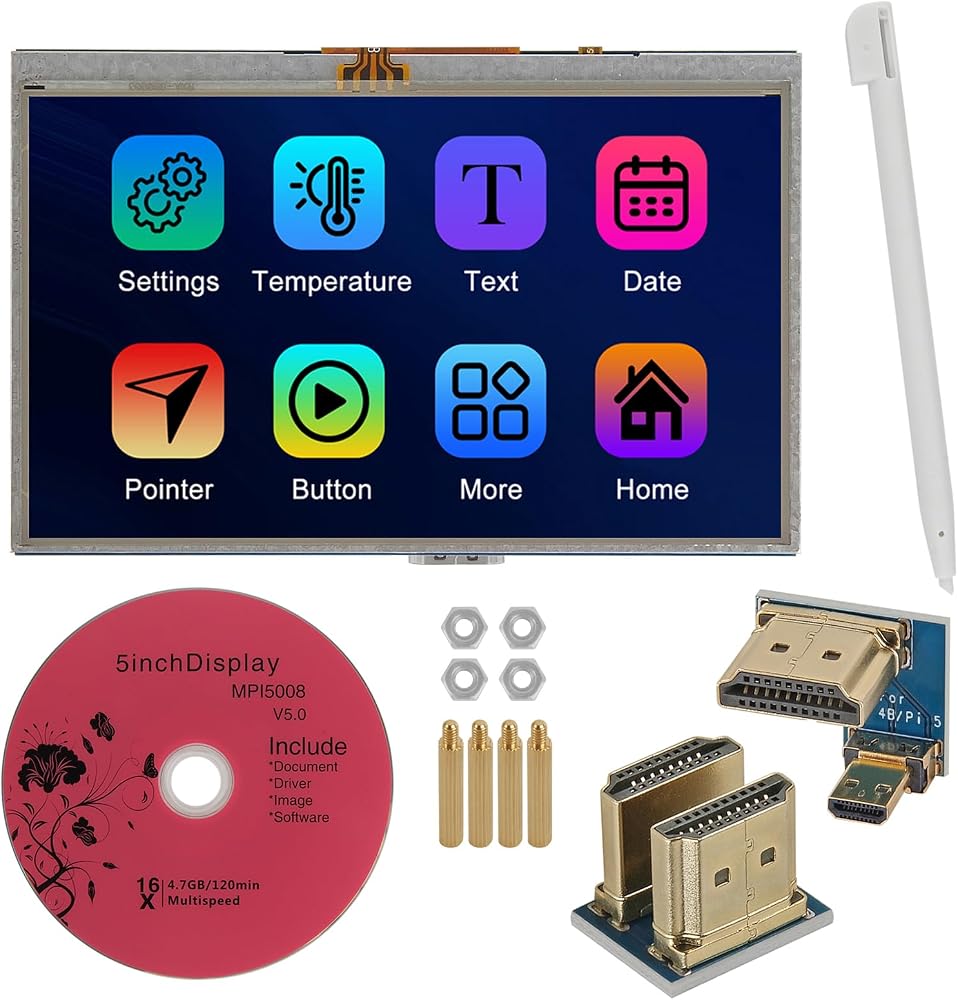
Connect the computer HDMI output signal to the LCD HDMI interface by using the HDMI cable
Connect the LCD's USB Power interface to the USB port of the device
If there are several monitors, please unplug other monitor connectors first, and use LCD as the only monitor for testing.
Note: touch function can only be used for raspberry pi.
How to use with OS:
Method 1: quick install ( needs Internet connection)
Step 1, Install Raspbian official image
Download the latest image from the official download.
Install the system according to the official tutorial steps.
Step 2: insert the SD card into the raspberry pie and connect the hardware
Step 3,Install LCD driver
Method 2: offline installation
Step 1: install the official image of Raspbian/Ubuntu
1)Download the latest Raspbian or Ubuntu image from the official website
2)Format the TF card with SDFormatter,
3)Use Win32DiskImager to burn the official image to the TF card.
Step 2, modify the config.txt
Step 3: insert the SD card into the raspberry pie and connect the hardware
Step 4: power the raspberry, connect the mouse keyboard, and open the terminal terminal terminal on the raspberry pie
Step 5. Enter the instructions in the terminal terminal
 140 قطعة 5 مم LED صمامات باعثة للضوء سلكية مسبقًا تيار مستمر 12 فولت 7 ألوان LED فائقة السطوع صمامات باعثة للضوء عدسات شفافة مجموعة ألوان متنوعة أبيض أحمر أصفر أخضر أزرق برتقالي أرجواني مصابيح LED صغيرة
KWD 4
140 قطعة 5 مم LED صمامات باعثة للضوء سلكية مسبقًا تيار مستمر 12 فولت 7 ألوان LED فائقة السطوع صمامات باعثة للضوء عدسات شفافة مجموعة ألوان متنوعة أبيض أحمر أصفر أخضر أزرق برتقالي أرجواني مصابيح LED صغيرة
KWD 4
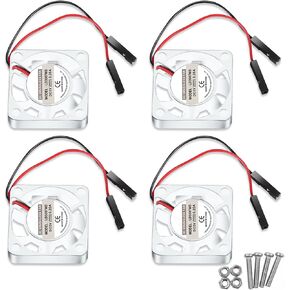 Dorhea 4 قطع 3007 مروحة سوداء لـ Raspberry Pi 4 Fan 30x30x7mm Pi Brushless Cooling Fan 3.3V 5V DC مروحة هادئة لـ Raspberry Pi 4، Pi 3 B+، Pi 3 B، Pi 2، Pi B+، Pi Zero/Zero W، مشروع روبوت
KWD 5.500
Dorhea 4 قطع 3007 مروحة سوداء لـ Raspberry Pi 4 Fan 30x30x7mm Pi Brushless Cooling Fan 3.3V 5V DC مروحة هادئة لـ Raspberry Pi 4، Pi 3 B+، Pi 3 B، Pi 2، Pi B+، Pi Zero/Zero W، مشروع روبوت
KWD 5.500
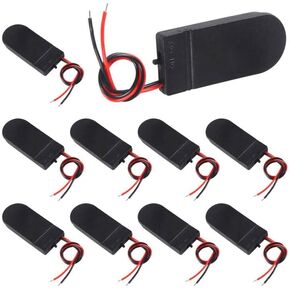 10pcs CR2032 حامل البطارية عملة زراعة الخلية حامل البطارية CAR222 2 × 3V CR2032 زر خلية خلية الخلية صناديق التخزين 2 فتحة بطاريات بلاستيكية سوداء ل CR2032 بطارية
KWD 0
10pcs CR2032 حامل البطارية عملة زراعة الخلية حامل البطارية CAR222 2 × 3V CR2032 زر خلية خلية الخلية صناديق التخزين 2 فتحة بطاريات بلاستيكية سوداء ل CR2032 بطارية
KWD 0
 15pcs 18650 حامل خلايا البطارية 4x5 خلية فاصل خلية حامل البطارية تخزين صندوق حماية صندوق حماية بطارية أسطوان
KWD 2.500
15pcs 18650 حامل خلايا البطارية 4x5 خلية فاصل خلية حامل البطارية تخزين صندوق حماية صندوق حماية بطارية أسطوان
KWD 2.500