- التسوق ، اصبح سهلا.
- /
- احصل على التطبيق!
I. Disassembly Steps
1. Power-off Preparation: Disconnect the device's power adapter first and let it stand for 1-2 minutes to discharge residual electricity.
2. Base Disassembly: Use a TR10 screwdriver to remove the 4 fixing screws at the bottom of the base, separate the base from the neck assembly, and keep the screws properly (to avoid loss).
3. Separate the Screen Bezel: Use a plastic pry tool to slowly pry open the gap along the screen bezel to separate the bezel from the main body (there is no waterproof glue on the bezel, so no heating is required); then remove the 3 screws inside the bezel that fix the screen.
4. Disconnect Cables: Gently lift the screen assembly, find the cable connectors where the screen connects to the motherboard, carefully pry up the connector clips with a pry tool, and disconnect the cables (do not pull the cables hard to avoid damage).
5. Remove the Old Screen: Completely separate the old screen assembly, place it aside, and avoid touching the IC components.
II. Installation Steps
1. Preprocess the New Screen: Attach the special 3M adhesive to the fitting position of the new screen's bezel and peel off the adhesive film.
2. Connect Cables: Insert the display cable and rotation motor cable of the new screen into the corresponding motherboard connectors respectively, and press the clips to fix them (ensure the cables are fully inserted to avoid poor contact).
3. Fix the Screen: Align the new screen with the installation position of the main body, press the bezel to make the 3M adhesive fit; then reinstall the fixing screws of the bezel.
4. Reset the Base: Align the neck assembly with the base, reinstall the 4 fixing screws at the bottom with a TR10 screwdriver, and ensure the base is firm without looseness.
III. Testing and Notes
1. Power-on Test: Connect the power adapter and check if the screen lights up normally, the touch is sensitive, and the rotation function works smoothly (no stuttering/no abnormal noise).
2. Key Taboos: Avoid touching the screen's IC components and the rotation motor cables during the entire disassembly and assembly process; do not let metal tools directly contact the screen cables to prevent short circuits.
3. Troubleshooting: If the screen does not light up or the rotation function fails, first check if the cables are fully inserted and you can reinstall them once. If the problem persists, please contact professional maintenance or the seller's after-sales service.
4. Disclaimer: You shall be responsible for any equipment damage caused by improper operation; it is recommended to watch the corresponding tutorial video on YouTube to familiarize yourself with the process before operation.
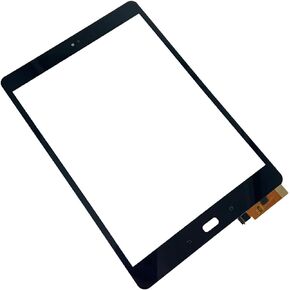 استبدال مجموعة محول الأرقام لشاشة تعمل باللمس لجهاز ASUS ZenPad Z10 ZT500KL Z500KL 9.7 بوصة (أسود)
KWD 9
استبدال مجموعة محول الأرقام لشاشة تعمل باللمس لجهاز ASUS ZenPad Z10 ZT500KL Z500KL 9.7 بوصة (أسود)
KWD 9
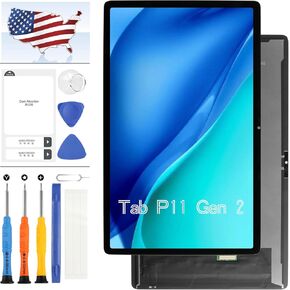 شاشة LCD لجهاز Lenovo Tab P11 Gen 2/P11 2022 TB350FU TB350XU TB350 11.5 بوصة شاشة LCD تعمل باللمس مجموعة محول رقمي مجموعة إصلاح بديلة مع أدوات (أسود)
KWD 24.500
شاشة LCD لجهاز Lenovo Tab P11 Gen 2/P11 2022 TB350FU TB350XU TB350 11.5 بوصة شاشة LCD تعمل باللمس مجموعة محول رقمي مجموعة إصلاح بديلة مع أدوات (أسود)
KWD 24.500
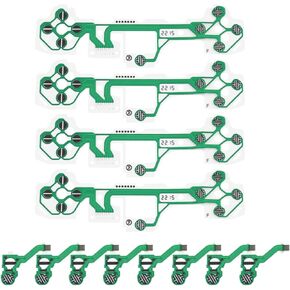 إنشاء فكرة 4 قطع استبدال غشاء غشاء موصل V2 متوافق مع PS5 FPC كابل الشريط المرن الملحقات الإلكترونية باللون الأخضر
KWD 4
إنشاء فكرة 4 قطع استبدال غشاء غشاء موصل V2 متوافق مع PS5 FPC كابل الشريط المرن الملحقات الإلكترونية باللون الأخضر
KWD 4
 OEM Motherboard Flex Main Cable متوافق مع Lenovo Tab P11 Pro Gen 2 TB132FU
KWD 6.500
OEM Motherboard Flex Main Cable متوافق مع Lenovo Tab P11 Pro Gen 2 TB132FU
KWD 6.500


