- Shopping, made easy.
- /
- Get the app!
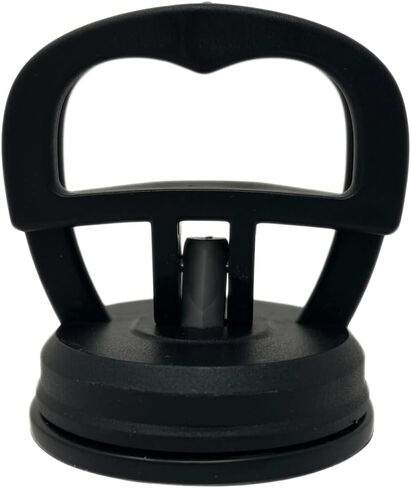
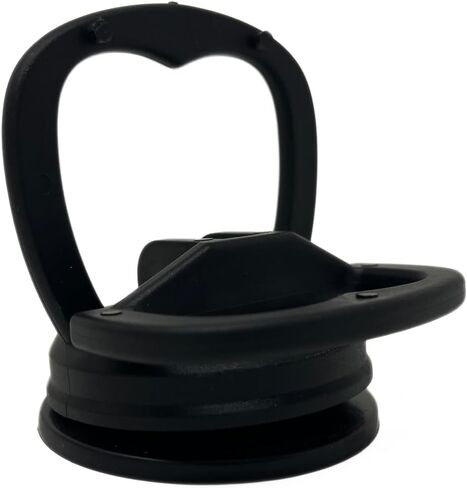
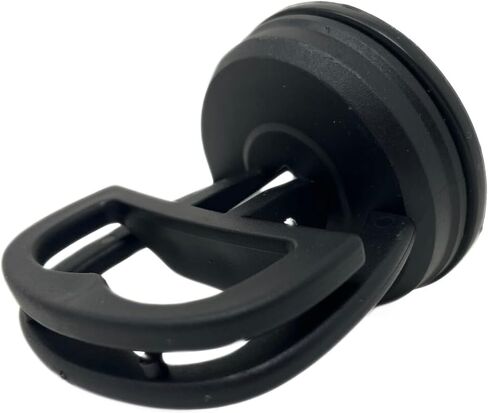
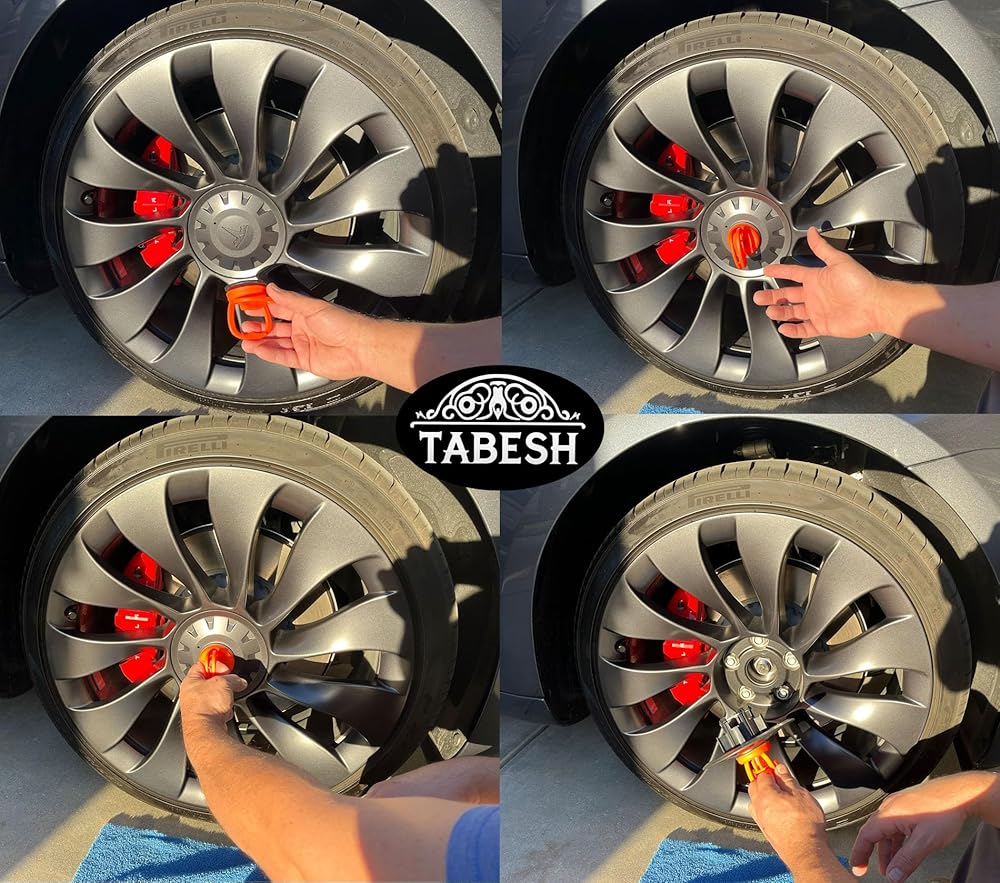
Remove Center Hub Cap Step-By-Step: 1. Open the latch on the hub cap remover. 2. Place the hub cap remover against the hub cap with the open handle to the left and the right handle set vertically. Make sure it is centered as the indented ‘T' logo will allow air to escape causing weak suction if it is not. 3. Push hard with your right thumb on the right side of the hub cap, perpendicular to the vertical handle. 4. Whilst pushing hard with your right thumb, close the left handle to activate the suction. 5. Pull the hub cap remover with authority. If you pull too weak it will not maintain suction. If it pulls off, move on; if not redo steps 1-5. Reapply Center Hub Cap Step-By-Step: 1. To reapply with the hub cap remover simply make sure there is a strong connection 2. Push the center hub cap in place with the center hub cap remover. 3. Release the suction handle. 4. Finally, lift the rubber up with a finger to remove the suction and pull the hub cap remover off. This Tesla Center Hub Cap Removal Tool is the perfect tool for removing your Tesla center hub caps without any chance of damaging the exterior of your vehicle like traditional tools. It is designed to work on all Tesla center hub caps and is easy to use. Simply place the tool onto the center hub cap and pull to remove it. The tool is made of high-quality materials and is durable, so it can be used for many years. It is also a great DIY tool for saving money on tire rotation. With this tool, you can easily remove your center hub caps and rotate your tires at home, without having to pay a mechanic to do it for you.
 Mountains Natural Scenery Spare Tire Cover Wheel Protector Weatherproof Wheel Cover Universal Decorative Accessories for Camper RV SUV Travel Trailer 15"
KWD 6
Mountains Natural Scenery Spare Tire Cover Wheel Protector Weatherproof Wheel Cover Universal Decorative Accessories for Camper RV SUV Travel Trailer 15"
KWD 6
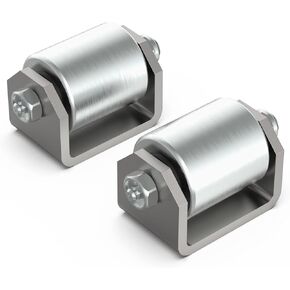 2" Weld on Heavy Duty Steel Roller Wheel with Grease Fitting RV Trailers Caster for RV, Motorhomes & 5th Wheels - 2 Pack
KWD 12
2" Weld on Heavy Duty Steel Roller Wheel with Grease Fitting RV Trailers Caster for RV, Motorhomes & 5th Wheels - 2 Pack
KWD 12
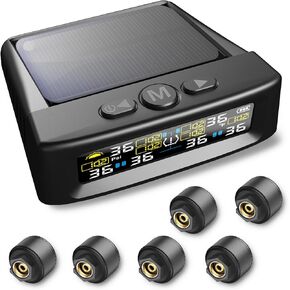 Tire Pressure Monitoring System - TPMS Tire Pressure Monitor System with Solar Charger, TPMS with 6 External sensors & 6 Alarm Modes, LCD Real-time Display, Auto Sleep Mode, Easy to Install
KWD 15.500
Tire Pressure Monitoring System - TPMS Tire Pressure Monitor System with Solar Charger, TPMS with 6 External sensors & 6 Alarm Modes, LCD Real-time Display, Auto Sleep Mode, Easy to Install
KWD 15.500
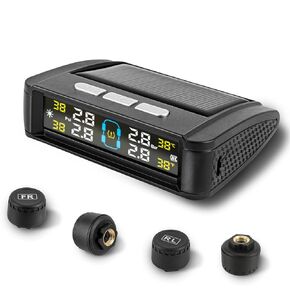 TPMS Tire Pressure Monitor System, RV Tire Pressure Monitoring System Wireless Tire Monitoring System with Solar and USB Charger (0-87 PSI), RV Trailer TPMS with 4 Sensors & 6 Alarm Modes LCD Display
KWD 19
TPMS Tire Pressure Monitor System, RV Tire Pressure Monitoring System Wireless Tire Monitoring System with Solar and USB Charger (0-87 PSI), RV Trailer TPMS with 4 Sensors & 6 Alarm Modes LCD Display
KWD 19