- التسوق ، اصبح سهلا.
- /
- احصل على التطبيق!
Fits:
1999-06 For Chevy Silverado 1500 Rear Rearward Frame Repair Kit
2007 For Chevy Silverado 1500 Classic Rear Rearward Frame Repair Kit
1999-04 For Chevy Silverado 2500 Rear Rearward Frame Repair Kit
1999-06 For GMC Sierra 1500 Rear Rearward Frame Repair Kit
2007 For GMC Sierra 1500 Classic Rear Rearward Frame Repair Kit
1999-04 For GMC Sierra 2500 Rear Rearward Frame Repair Kit
Interchange Part Number
15090818, 15090825, 15250557, 15250558, 15706913,
15706914, 15706916, 15873151, 15873152, 15934362,
15934363, 15934364, 15934365, 15934366, 15934367,
15934368, 15934369, 15934370, 15934371, 15934372,
15937373, 15998627, 15998629, 19208484, 19210019, 21997061
Installation Procedure
STEP 1: Remove the truck bed, safely raise the vehicle off the ground, and suitably support the vehicle.
STEP 2: Using a cutting wheel, cut around the top and sides of the ends of the rear crossmember on the frame.
STEP 3: Once complete, the cuts around the ends of the crossmember will look like those shown in the photos.
NOTE: Do not cut the frame completely in half (note that the top of the frame is not cut in the photos).
Make sure the vehicle frame is properly supported, because the frame will want to twist or bend when the crossmember is removed.
STEP 4: Using a cutting wheel, cut the spare tire hoist mounting plate from the crossmember.
STEP 5: Once complete, remove the crossmember from the frame.
STEP 6: Place the replacement crossmember in place of the removed one.
STEP 7: Hold the replacement crossmember in place to the frame with c-clamps.
STEP 8: Using a permanent marker, mark off the section of the frame around where the crossmember attaches to the frame, so you can clean down to the bare metal for a proper and strong weld.
STEP 9: Remove the replacement crossmember and the c-clamps. Then, using a handheld torch and paint scraper, clean down to the bare metal where the crossmember will attach to the frame, for a proper and strong weld.
STEP 10: Using a grinding wheel, clean the edge of the spare tire hoist mounting plate to prepare it for welding.
STEP 11: Put the replacement crossmember back in place to the frame with c-clamps.
STEP 12: Using a welder, tack weld the outer plate to the outside of the frame on both sides of the crossmember.
STEP 13: On both ends of the crossmember, put the upper supports into place. Then, using a welder, weld a tack to both upper supports to hold them in place.
STEP 14: Using a grinding wheel, clean the edges of the lower supports to prepare them for welding
STEP 15: On both ends of the crossmember, put the lower supports into place.
STEP 16: Using a welder, weld the upper and lower supports to the frame and each other, and weld the tube to the outer plate, on both ends of the crossmember. In addition, weld the tube to the spare tire hoist mounting plate.
STEP 17: Paint any bare metal to help prevent corrosion.
STEP 18: Safely lower the vehicle.

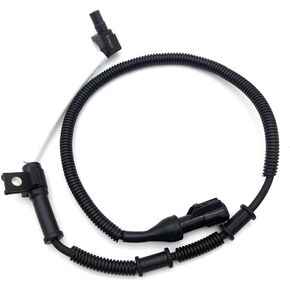 استبدال مستشعر سرعة عجلة ABS الأمامي الأيسر أو الأيمن XL3Z2C204CB لـ 1997-2004 F-150 F-250 Expedition Lincoln Navigator (يناسب فقط سيارات الدفع الرباعي)
KWD 5.500
استبدال مستشعر سرعة عجلة ABS الأمامي الأيسر أو الأيمن XL3Z2C204CB لـ 1997-2004 F-150 F-250 Expedition Lincoln Navigator (يناسب فقط سيارات الدفع الرباعي)
KWD 5.500
 18-3760 طقم جلبة عمود تغيير مبيت الجرس لـ MerCruiser Alpha one، Alpha One Gen 2 Sterndrives 23-806036A1
KWD 12
18-3760 طقم جلبة عمود تغيير مبيت الجرس لـ MerCruiser Alpha one، Alpha One Gen 2 Sterndrives 23-806036A1
KWD 12
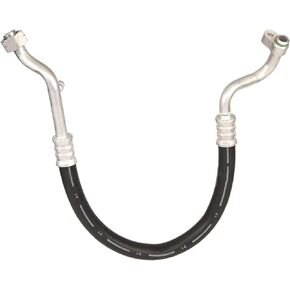 خراطيم تكييف الهواء فور سيزونز 55084
KWD 13.500
خراطيم تكييف الهواء فور سيزونز 55084
KWD 13.500
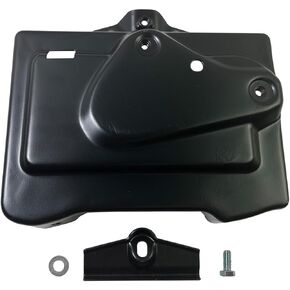 طقم علبة البطارية مع مشبك التثبيت ومسامير التثبيت المتوافقة مع 1968 1969-1973 1974 Chevy II Chevy Nova
KWD 11
طقم علبة البطارية مع مشبك التثبيت ومسامير التثبيت المتوافقة مع 1968 1969-1973 1974 Chevy II Chevy Nova
KWD 11


