- التسوق ، اصبح سهلا.
- /
- احصل على التطبيق!
Stop Wasting Floor Space – Paint Doors the Smart Way
Whether you're a professional painter juggling 10 doors on a remodel, a cabinet refinisher working out of a garage, or a serious DIYer tired of leaning doors against every wall – this Vertical Door Painting Stand transforms how you work.
WHY PROS CHOOSE OUR SYSTEM OVER PLASTIC OPTIONS
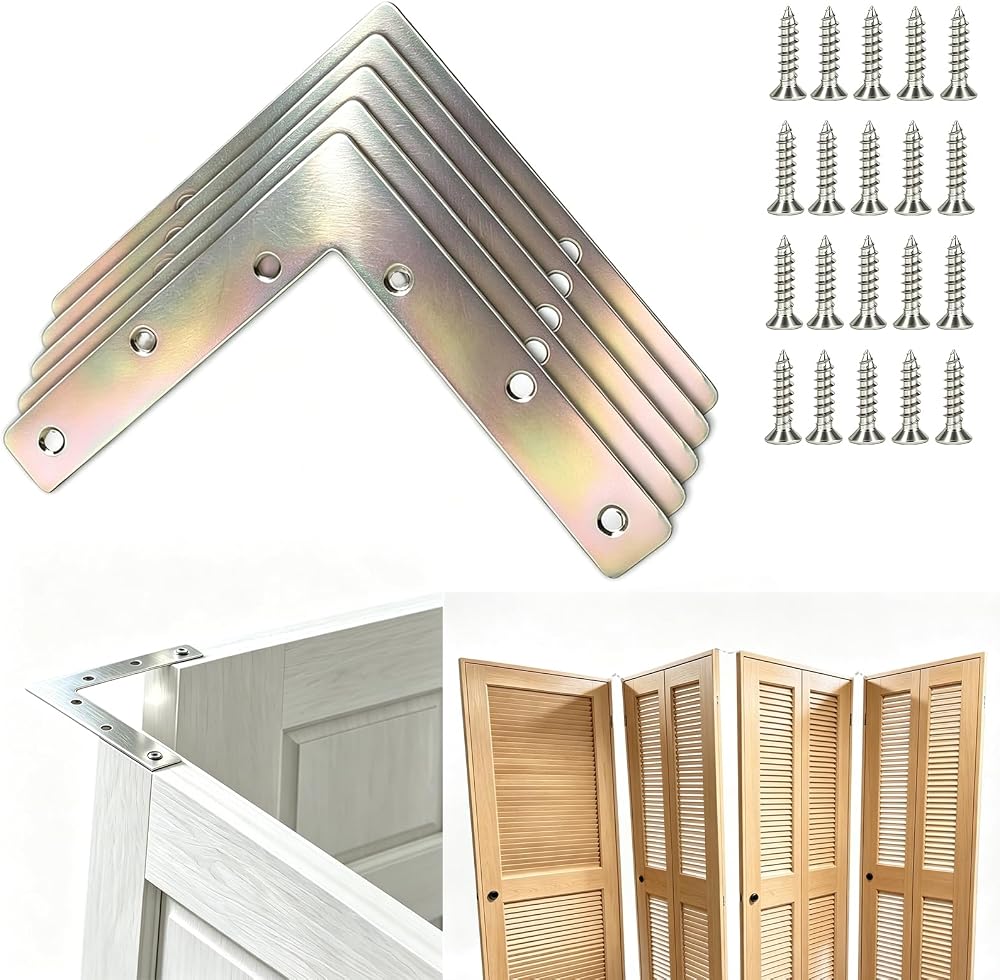
✔ ADJUSTABLE 6-HOLE BRACKETS — Set the perfect spacing for any door width.
Six pre-drilled holes per bracket let you customize the length, change angles,
and reuse the same hardware on every job.
✔ COUNTERSUNK + RECESSED HOLES — Screw heads sit flush with the bracket, so you can rotate and reposition the brackets in ANY direction without obstruction. True 360° flexibility for awkward jobsite spaces.
✔ 80A RUBBER (NOT CHEAP PLASTIC) — Plastic alternatives from others CRACK under stress and SCRATCH hardwood floors. Our 80A shore hardness synthetic rubber is rigid enough to hold solid-core doors yet flexible enough to protect every surface.
✔ ENGINEERED CONTACT SURFACES — Flat top = locks tight to the door. Curved bottom = glides on the floor without scuffing.
✔ EVERYTHING INCLUDED — All screws, washers, and brackets come in the box. No "trip to the hardware store" surprises.
WHAT'S IN THE BOX (PER KIT)
20 × Black 80A Rubber Base Pads
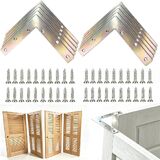
20 × Stainless Steel Adjustable Brackets
40 × Self-Tapping Screws (for door mounting)
40 × Screws (for bracket connection)
40 × Stainless Steel Flat Washers
(specifically sized to pair with the self-tapping screws — the screw heads alone are too small to hold securely, so the washers ensure a tight, stable grip on the rubber base)
HOW TO USE — 3 SIMPLE STEPS
STEP 1: Attach the rubber base pads to the top and bottom edges of each door using the self-tapping screws — ALWAYS pair each screw with one stainless steel washer.
The washer is essential here because the screw head alone is too small to fully secure the rubber pad; the washer distributes the pressure evenly and locks the pad firmly in place.
STEP 2: Connect adjacent doors with the stainless steel brackets and screws. Adjust the hole spacing AND direction to match your layout — the countersunk holes let you flip or rotate brackets freely.
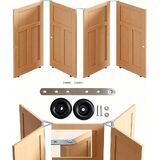
STEP 3: Arrange the connected doors in a slightly angled, zig-zag (accordion-style) formation rather than a perfectly straight line — this angled setup creates a self-supporting structure that prevents tipping and keeps every door rock-steady. Then spray, paint, and dry both sides simultaneously, all in the same compact footprint.
Need to paint more than 10 doors? Simply chain additional kits together for unlimited capacity.
PERFECT FOR
Interior doors, exterior doors, hollow-core, solid-core
Cabinet doors and shaker panels
Trim, shutters, and large flat panels
Spray painting, brushing, rolling, and staining
Indoor and outdoor jobsites
 مصد مطاطي من النيوبرين 1-1/2 مع حلقة فولاذية مدمجة 8 قطع
KWD 5
 مجموعة قلم رصاص كويك ستيكس Master Art من 60 لون، تتضمن ألوان كلاسيكية ومعدنية ونيون وجواهر وألوان باستيل وأرض، TPG-690
KWD 33
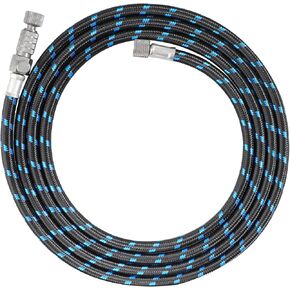 خرطوم البخاخة SAGUD خرطوم هواء مضفر من النايلون بطول 6 أقدام مع حجم 1/8 بوصة على كلا الطرفين ومحول 1/8 بوصة ذكر - 1/4 بوصة أنثى لمعظم مجموعات البخاخة
KWD 4.500
 5JE اقتران S-Flex Sure Flex Gear Sleeve تصميم صلب من المطاط الصناعي، مطاط Epdm
KWD 7

 الكويت
