- التسوق ، اصبح سهلا.
- /
- احصل على التطبيق!
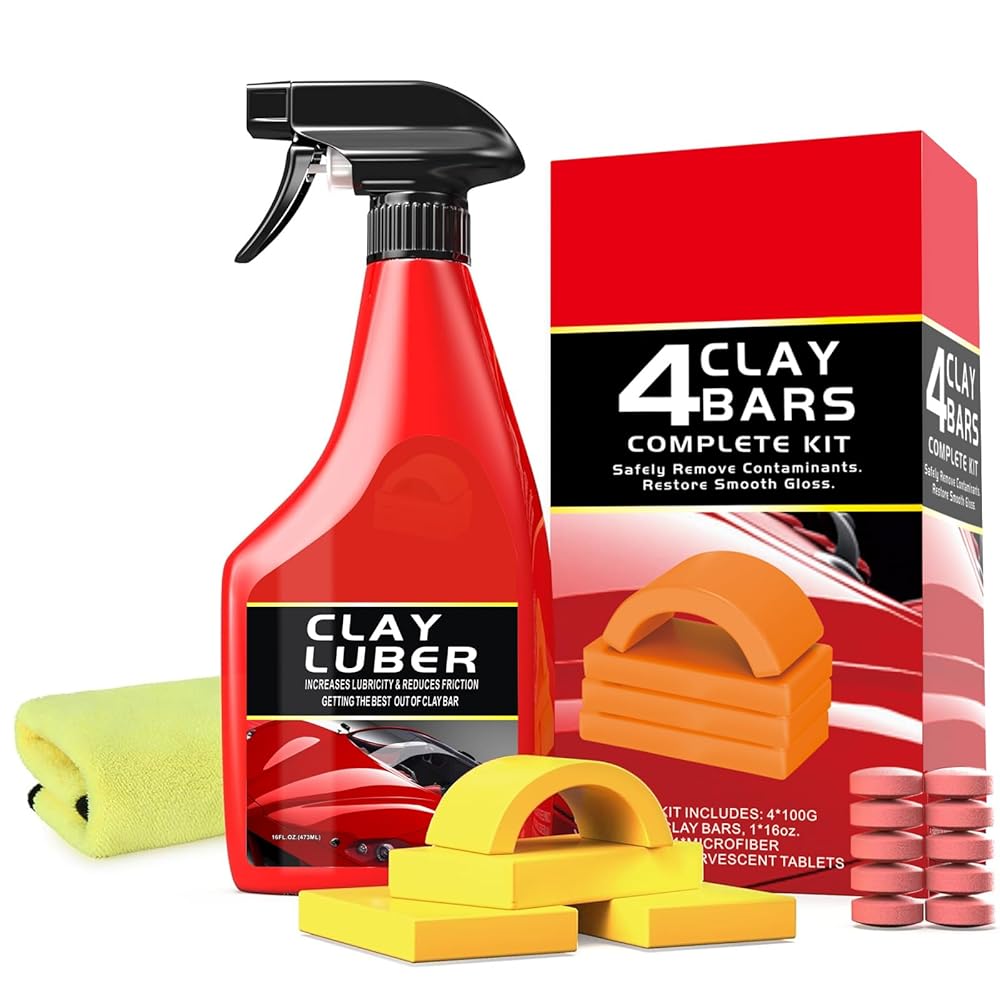
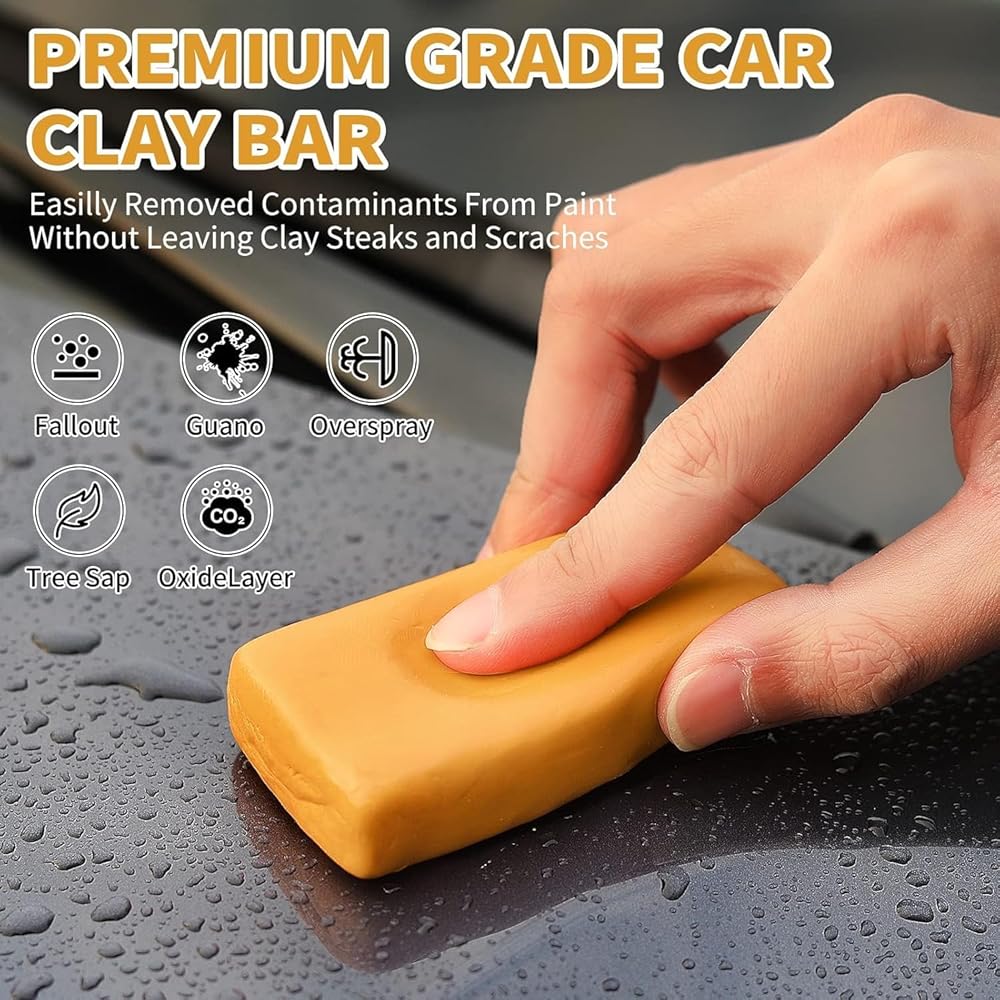
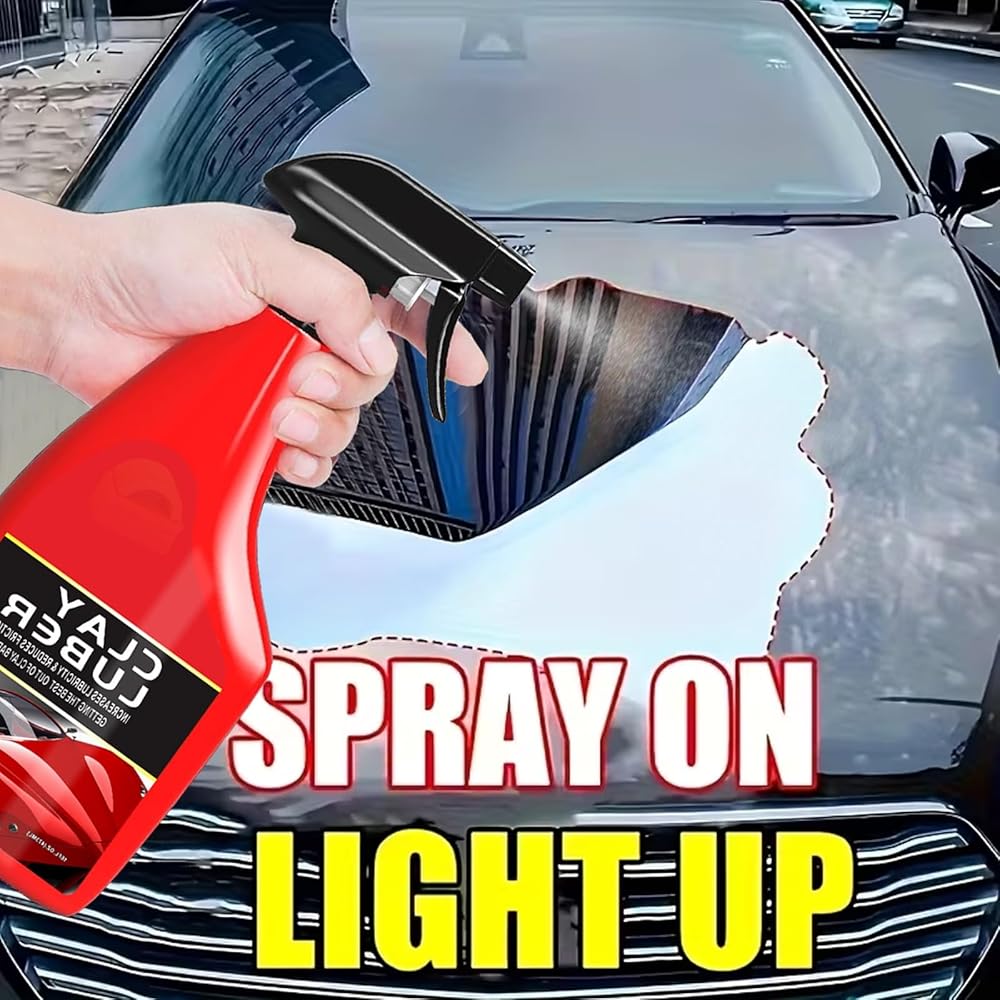
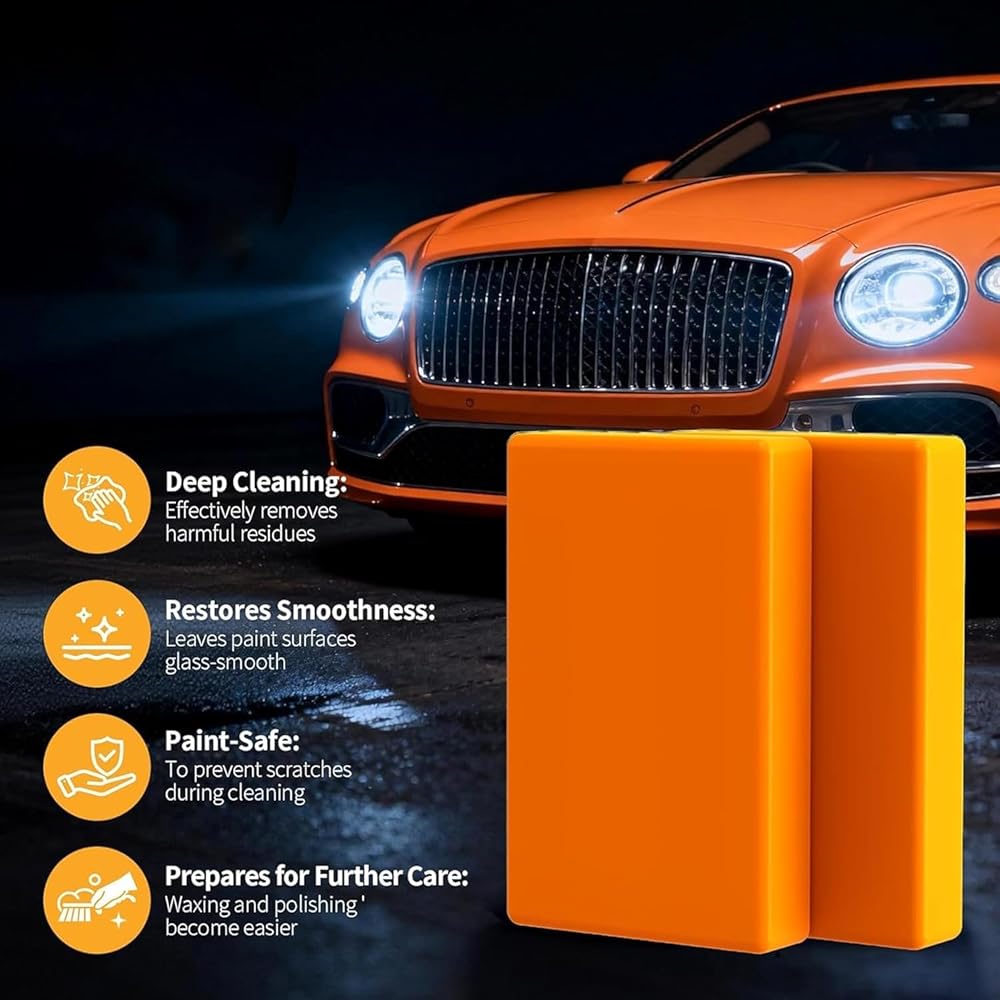
STEP 1: Pre-Clean the Vehicle Rinse the entire car thoroughly with a pressure washer or water hose to remove loose dirt, dust, and large debris. Keep the vehicle wet at all times to avoid scratching the paint during the process. STEP 2: Prepare the Clay Lubricant Take the clay lubricant bottle. Add the dissolvable tablet(s) as directed, then wait for them to fully dissolve. Spray the prepared lubricant evenly onto the section of the paint you will work on. STEP 3: Use the Clay Bar on the Paint Take the clay bar and knead it into a flat, usable shape. With the paint still wet and covered in lubricant, gently glide the clay bar back and forth across the surface. Focus on removing stubborn contaminants like iron particles, tar, sap, and embedded grime. Do not apply heavy pressure. If the clay bar becomes dirty, fold and knead it to expose a clean surface before continuing. STEP 4: Dry and Finish the Surface Use a clean, premium microfiber towel to thoroughly dry the treated area. After drying, the paint will feel smooth and ready for the next steps, such as waxing, sealing, or polishing. Does your car look clean, but feels rough and grainy when touched by hand? These are "invisible" pollutants embedded in the paint surface. Our professional clay strips can be like delicate magnetic rubber clay. With the cooperation of lubricants, these impurities can be safely grasped and peeled off, so that the paint surface can be restored to the extreme smoothness of the factory, laying a perfect foundation for subsequent waxing or crystal plating.
 -5%
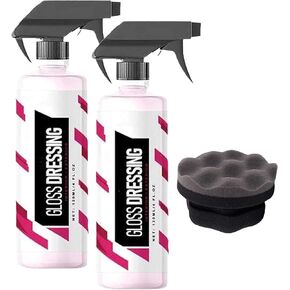
2pcs Gloss Dray - البلاستيك ، صلصة القطع والإطارات - استعادة المواد البلاستيكية الباهتة ، وخلع اللمعان للتفاصيل ، مرمم البلاستيك للسيارات الطلاء البلاستيكي السيراميك ، والمنظف الداخلي للسيارات.
KWD 9
-5%
2pcs Gloss Dray - البلاستيك ، صلصة القطع والإطارات - استعادة المواد البلاستيكية الباهتة ، وخلع اللمعان للتفاصيل ، مرمم البلاستيك للسيارات الطلاء البلاستيكي السيراميك ، والمنظف الداخلي للسيارات.
KWD 9
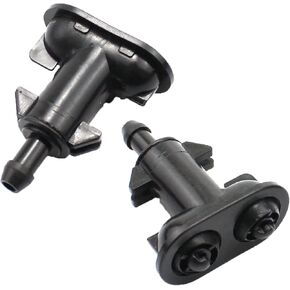 2PCS LR015359 LR015358 مصابيح المصابيح الأمامية الفتحات النفاثة المتوافقة مع Range Rover Sport L320 2010-2013
KWD 3.500
2PCS LR015359 LR015358 مصابيح المصابيح الأمامية الفتحات النفاثة المتوافقة مع Range Rover Sport L320 2010-2013
KWD 3.500
 -56%
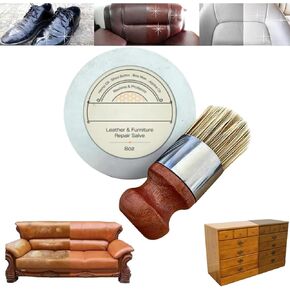
مرهم الأثاث للجلد ، مرهم جلدي للأثاث ، مناسب للأثاث ، مقاعد السيارات ، أريكة جلدية ، صيانة الأرضية (1 مساءً مع فرشاة)
KWD 2
-56%
مرهم الأثاث للجلد ، مرهم جلدي للأثاث ، مناسب للأثاث ، مقاعد السيارات ، أريكة جلدية ، صيانة الأرضية (1 مساءً مع فرشاة)
KWD 2
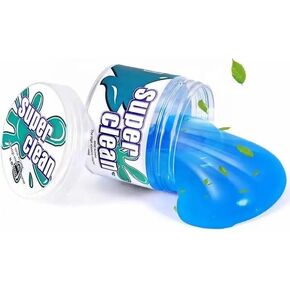 جل بيلوكليان تنظيف هلام بالتفصيل للسيارة الغبار المحمول الغبار المنزلي والمكاتب الإلكترونية طقم مجموعة الكمبيوتر مزيل الغبار الوحل تنظيف الهواء تنفيس التفاصيل الداخلية
KWD 3.500
جل بيلوكليان تنظيف هلام بالتفصيل للسيارة الغبار المحمول الغبار المنزلي والمكاتب الإلكترونية طقم مجموعة الكمبيوتر مزيل الغبار الوحل تنظيف الهواء تنفيس التفاصيل الداخلية
KWD 3.500