- التسوق ، اصبح سهلا.
- /
- احصل على التطبيق!
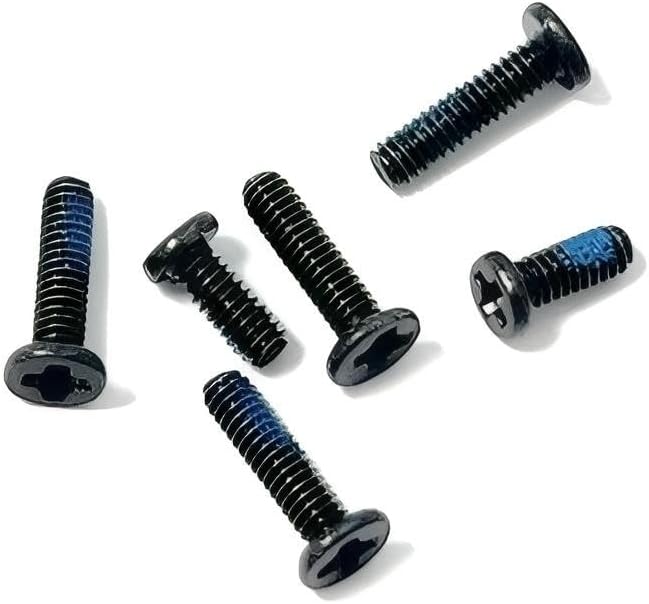
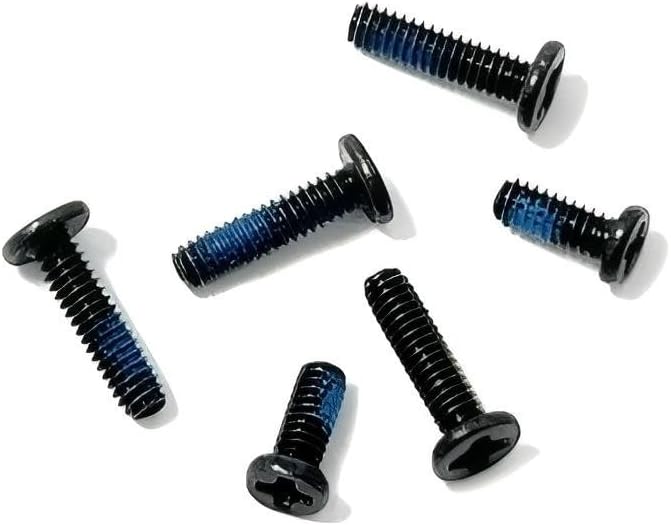
Comaptible models: For HP
Fortis 11 inch G10 Chromebook TPN-Q295
Fortis G1i 11 inch Chromebook
Fortis x360 11 inch G5 Chromebook
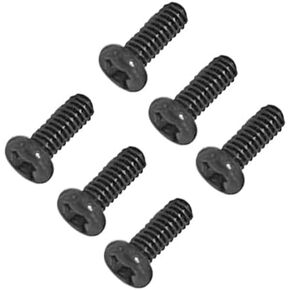
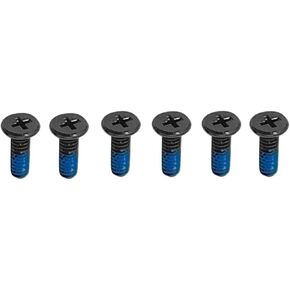
Package Includes:Lower Bottom Base Cover Case Screws ,Bottom Case Screws,Repair Screws
Concise Installation Guide for Computer Bottom Cover Screws
Step 1 - Preparation:Shut down and disconnect all external cables.Place the computer bottom face up on an anti-static mat.
Step 2 - Align the Bottom Cover:Match the cover buckles with chassis slots.Press edges evenly until all buckles click into place.
Step 3 - Preliminary Screw Fixation:Tighten only 1-2 turns per screw to avoid deformation.
Step 4 - Diagonal Tightening:Sequence: Top left → Bottom right → Top right → Bottom left. Please note:Insert screwdriver vertically,Rotate 180° incrementally until flush.Maintain torque at 0.5-0.8 N·m.
Stop rule: Immediately cease if encountering excessive resistance.
Step 5 - Final Verification:Tap lid lightly to detect looseness or rattles.Confirm all screws are flush (re-adjust if protruding/recessed).
If you have any questions, please don't hesitate to contact our customer service, thanks for your cooperation!
 Gintai 6pcs قاع القاعدة السفلى القاعدة البراغي استبدال Dell Inspiron 3511 3515 3520 3525 3530 3535/ Vostro 3510 3515 3520 3525 3530 3535 (Black M2X5)
KWD 6
Gintai 6pcs قاع القاعدة السفلى القاعدة البراغي استبدال Dell Inspiron 3511 3515 3520 3525 3530 3535/ Vostro 3510 3515 3520 3525 3530 3535 (Black M2X5)
KWD 6
 Gintai 6pcs قاع القاعدة السفلى القاعدة مسامير الاستبدال لـ Dell Alienware M16 R2 (أسود)
KWD 5.500
Gintai 6pcs قاع القاعدة السفلى القاعدة مسامير الاستبدال لـ Dell Alienware M16 R2 (أسود)
KWD 5.500
 استبدال مسامير محرك الأقراص الصلبة Gintai لـ ACER AN515-56 AN515-57 AN515-45 AN515-55 A515-51 AN515-52 AN515-53
KWD 4.500
استبدال مسامير محرك الأقراص الصلبة Gintai لـ ACER AN515-56 AN515-57 AN515-45 AN515-55 A515-51 AN515-52 AN515-53
KWD 4.500
 براغي Gintai 7PCS BAT-TE-RY بديل لـ ASUS GV302 GV601
KWD 7.500
براغي Gintai 7PCS BAT-TE-RY بديل لـ ASUS GV302 GV601
KWD 7.500